Openers · Toronto
Belt-Drive Opener Repair in Toronto
The door used to glide up with a soft hum.
In plain words
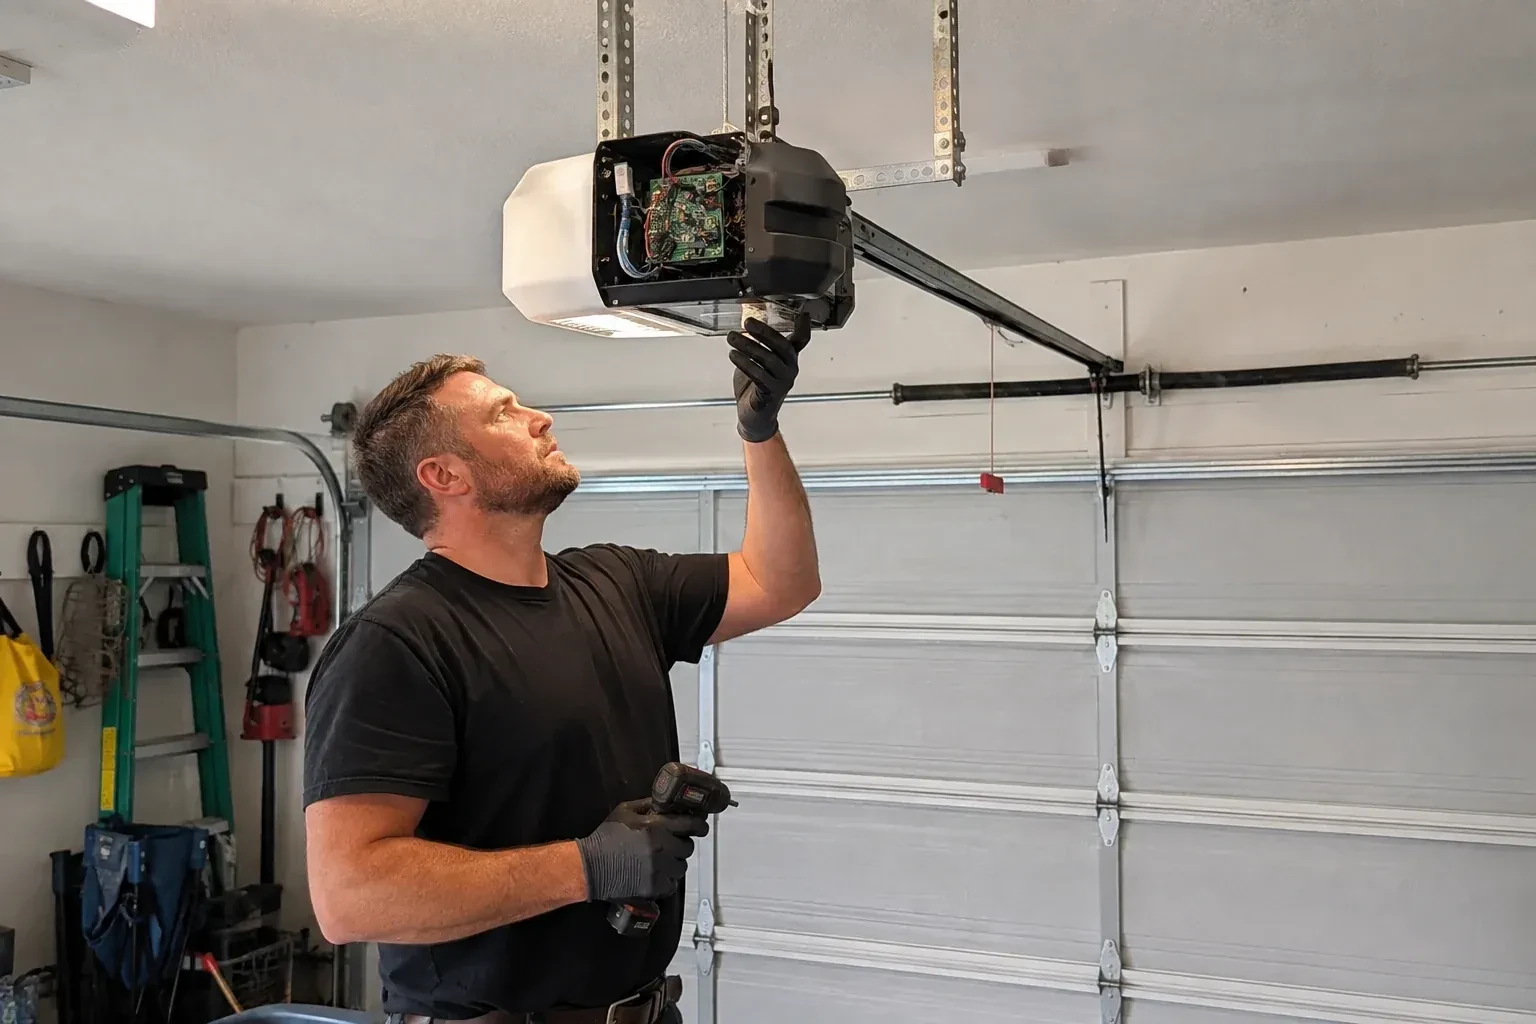
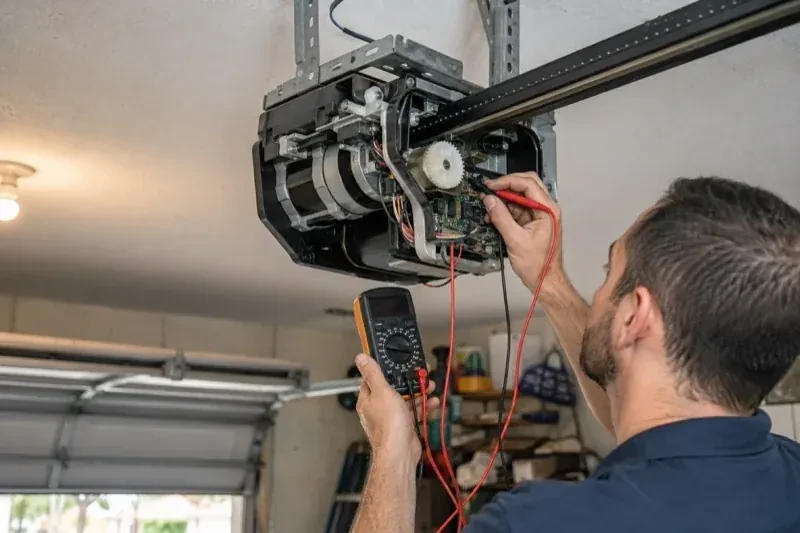
The visit runs in a set order. First the operator is unplugged and the door is released and lifted by hand, because the belt only guides a door the springs already carry; a heavy door is a spring job, not a belt job. Next the belt is examined along both runs, its tension checked at the trolley spring, and the sprocket, idler pulley, trolley and rail looked over. Then the repair itself: adjusting, or replacing the belt, trolley, pulley or gear kit. Finally the motor and trolley are put back in phase, travel and force are relearned, and the two reversal tests are run before the door is handed back.
How the visit goesThe door used to glide up with a soft hum. Now there is a sharp clack every second or so, and if you stand underneath you can see the belt sagging below the rail and slapping it on the way up.
Belt-Drive Opener Repair
How the visit goes
How tight is tight enough
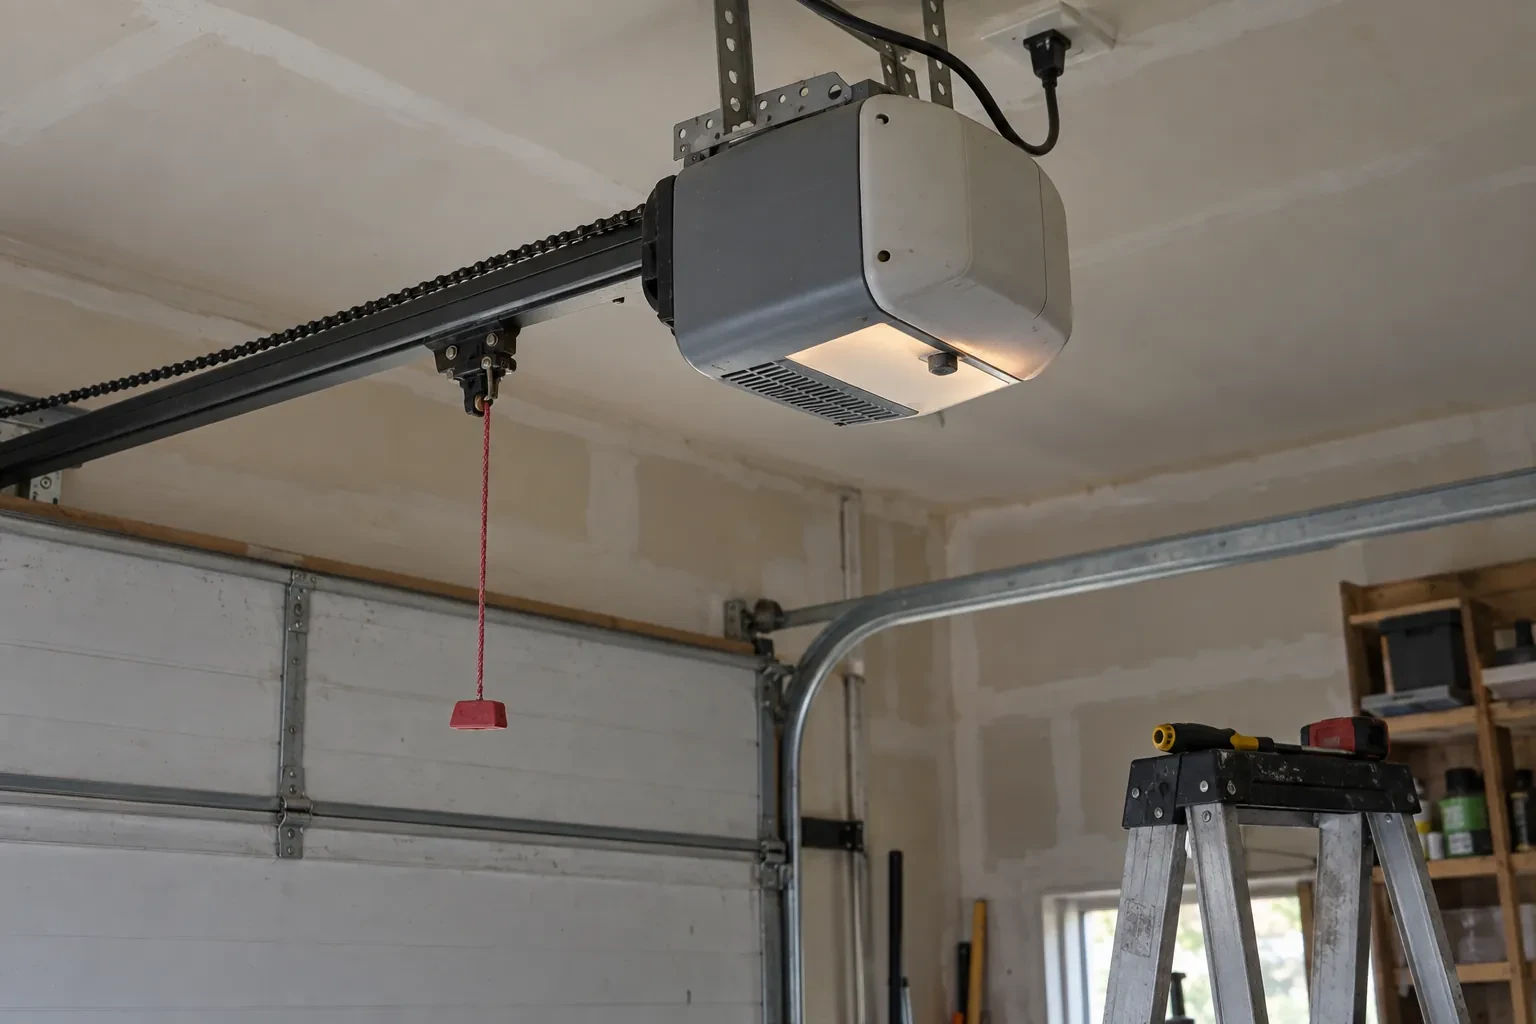
Belt tension is measured, not guessed. At the inner trolley a threaded shaft carries a coil spring and a square nut; turning the nut draws the belt tighter and compresses the spring, and the maker states the spring length that means the belt is right, roughly the width of a thumb. The technician checks that length, presses the belt at mid-span for a little give, and watches it run. A belt hanging below the rail is loose and will skip teeth. A belt pulled drum-tight makes sprocket noise, loads the motor bearings and wears the idler pulley. Both are corrected on the spot, and an adjuster wound to its end tells the technician the belt has stretched past saving.
Putting motor and trolley back in step
Any time the belt has been off the sprocket, the operator's sense of where the door is can drift from where the trolley actually sits, so this step is done before the door is reconnected. The technician lifts the belt clear of the sprocket, runs the operator until the sprocket turns to its closed position and stops on its own, then slides the trolley to the closed end of the rail and refits the belt. Motor and trolley now agree. On operators with a mechanical limit assembly, the middle contact is adjusted instead. Without this step, the door stops short at one end no matter how the travel limits are turned.
The red cord, and what to do after you pull it
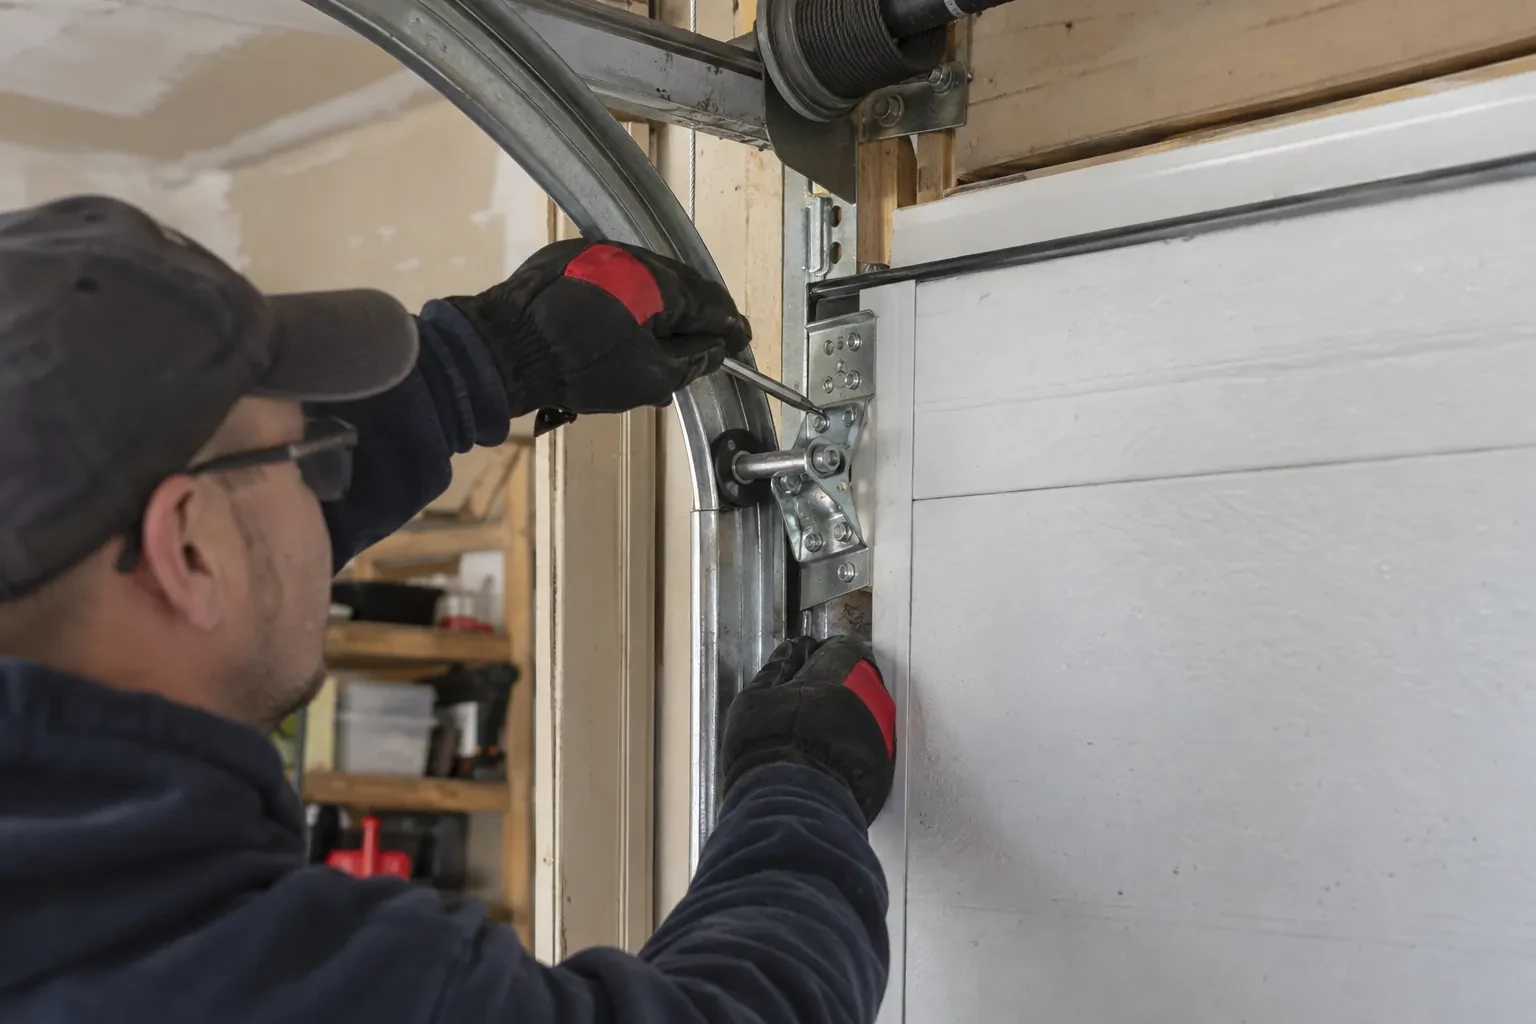
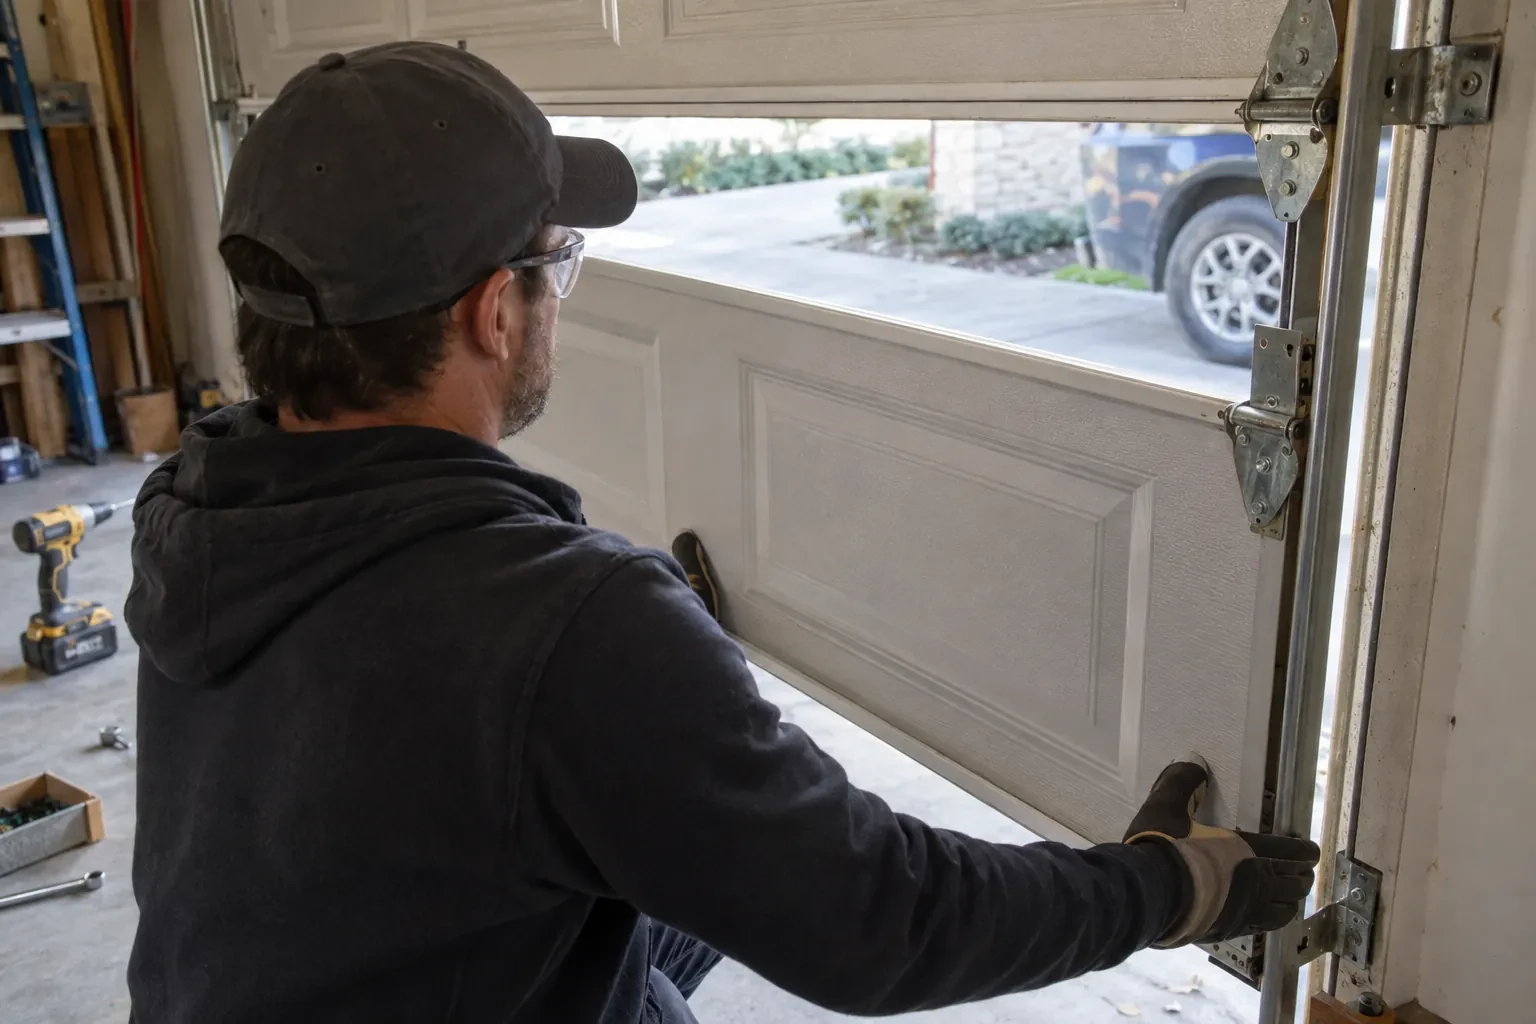
You now know where the release handle hangs and what happens when you use it. A pull parts the trolley so the door can be lifted by hand through a power cut; running the motor, or a second pull, reconnects it. What matters after this repair is to pull it only with the door closed. Releasing a door that is open, or one whose springs are tired, can let it fall because the spring no longer carries its weight; the release itself disconnects the trolley from the belt, so the falling door lands on its tracks and hinges, not the belt the technician just corrected. Practise it once with the door down so the first real use is calm.
Belt-Drive Opener Repair
In the van
Garage-door lubricant for hinges and rollers
Rail joint brackets and stop bolts
Drive gear and sprocket kit
Reinforced drive belt with clip
Door arm and clevis pins
Belt-Drive Opener Repair
What affects the quote
Adjustment or replacement
A tension adjustment with the safety tests is the smallest visit. A new belt, with a fresh clip, phasing and relearned limits, is a larger one, and the inspection decides which you need.
Sensors and controls needing attention
Photo eyes out of alignment or too high, a wall control below the recommended height or a release handle out of reach are corrected during the visit and listed separately.
Door size and weight
A wide double door or a heavy insulated one asks more of the belt and trolley, and the inspection may point to a suitably rated opener or a top-section strut for that door, alongside the belt matched to the rail and sprocket.
What to have ready
- Has anyone tightened or adjusted the belt recently?
- What make and model is printed on the motor head, and roughly how old is it?
- Is the garage heated and attached to the house, or a cold detached one?
Belt-Drive Opener Repair: questions
QuestionsHow long does a belt-drive repair take?
A tension adjustment with the safety tests is a short visit. Replacing the belt, trolley or idler pulley, then phasing the motor, relearning limits and running the reversal tests, is usually an hour or two. A gear-and-sprocket kit at the motor head takes longer because the head unit is opened. If the balance test turns up spring work, that is agreed as a separate job with its own time.
Can the belt just be tightened, or does it need replacing?
Tightening is the first thing tried. Tension is set at the inner trolley by a square nut that compresses a spring to the length the maker specifies. If the belt reaches that setting and runs without sprocket noise, it stays. If the adjuster is wound to its end and the belt still sags, or the rubber is cracked, glazed or missing teeth, a new belt is the right repair.
Can I adjust the belt tension myself?
The adjustment nut is reachable and some owners do, but there are two things to get right. The operator must be unplugged and the door released first, and the spring must be set to the maker's length rather than tightened until the sag disappears, since an over-tight belt is noisy and hard on the motor. After any change, the reversal tests should be repeated. Many people prefer to have it done during a service.
Related services
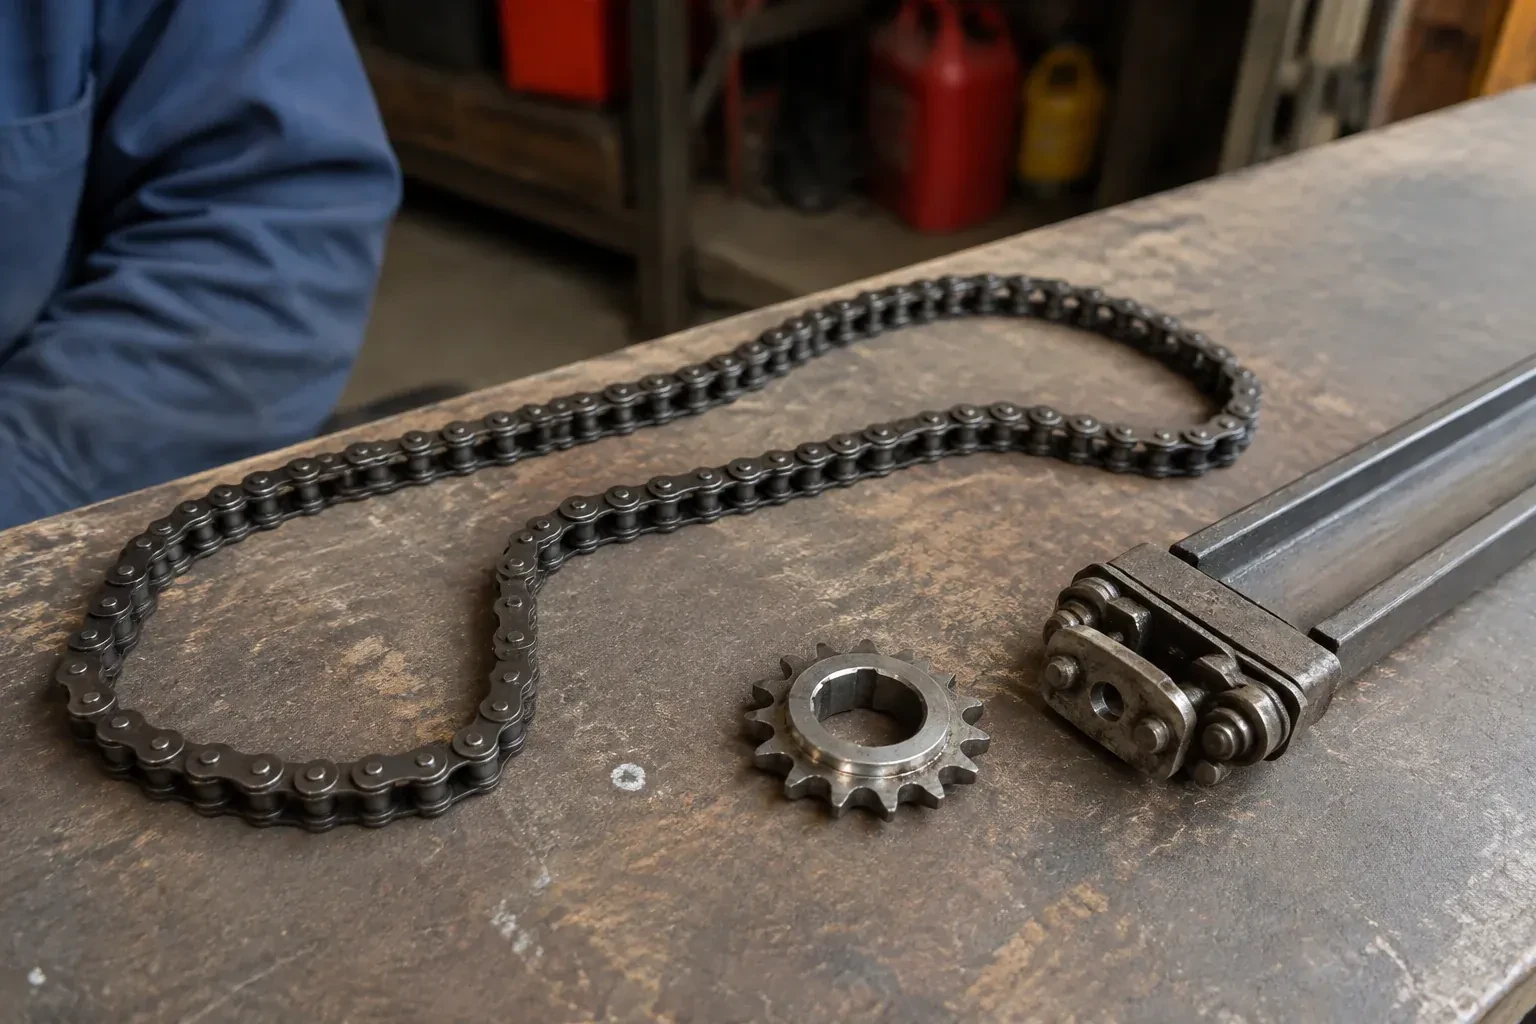
- Chain-Drive Opener RepairThe chain in the detached garage went orange with rust over the winter, the links are stiff, and the opener strains and groans to pull the door up.
- Garage Door Opener ReplacementYou swapped the old wooden door for a heavier insulated steel one, and the twenty-year-old opener that was kept has never settled.
- Photo-Eye Sensor Alignment or ReplacementThe small light on one of the sensors near the floor has gone dark, or it flickers when someone walks past the track.