Openers · Toronto
Belt-Drive Opener Repair
The door used to glide up with a soft hum.
In plain words
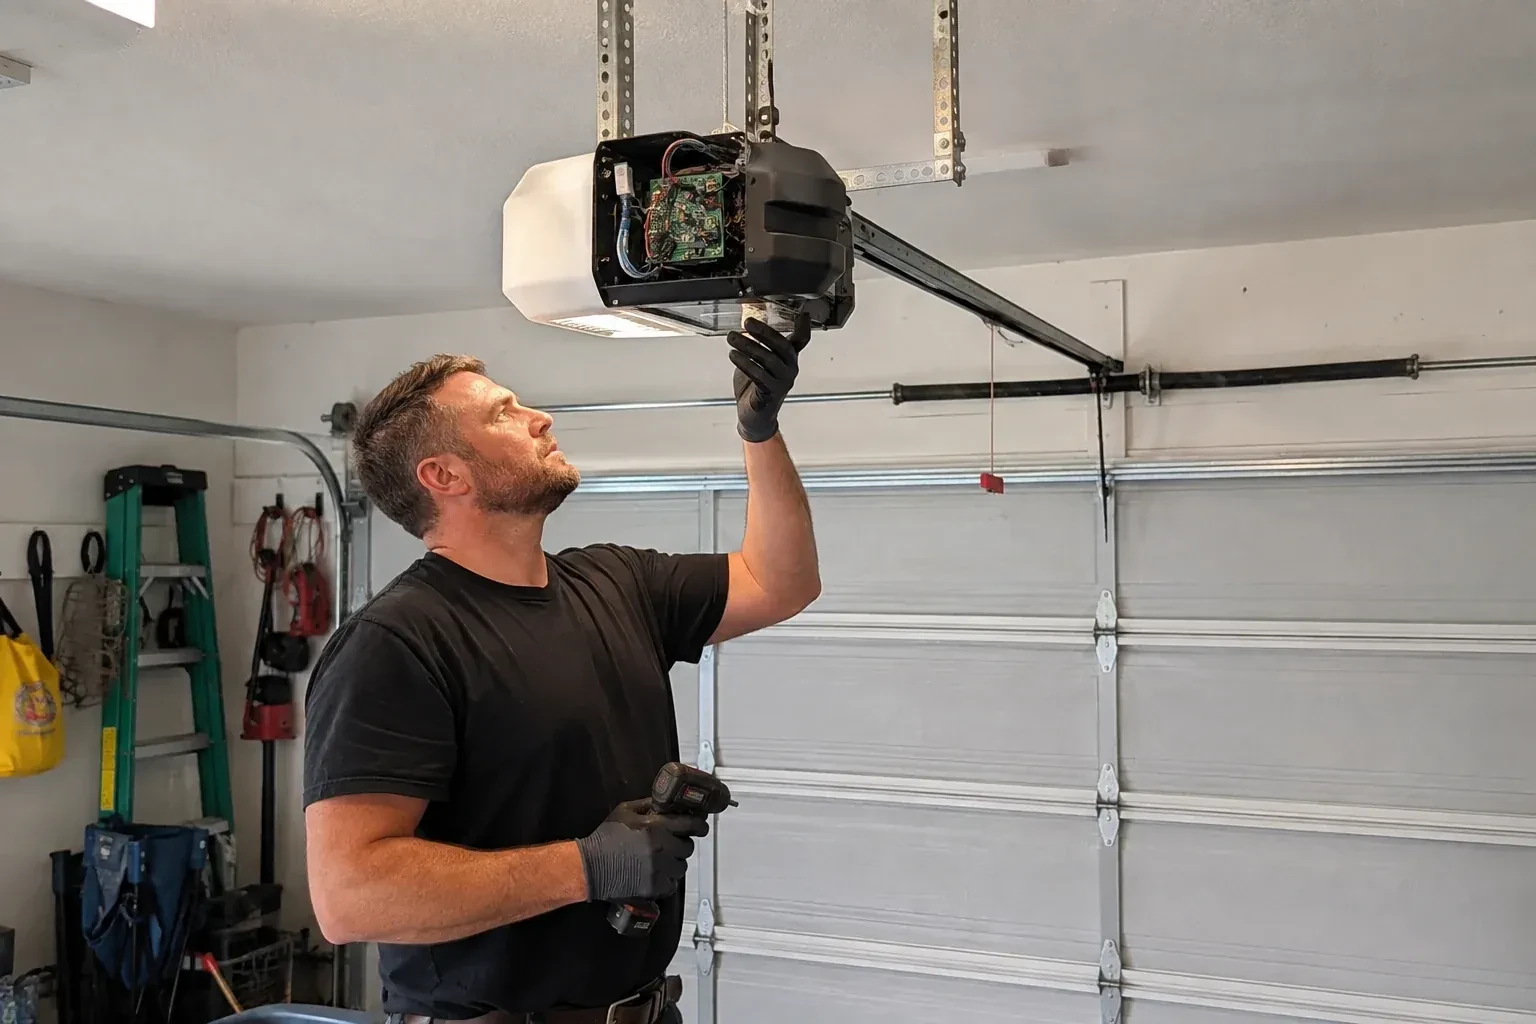
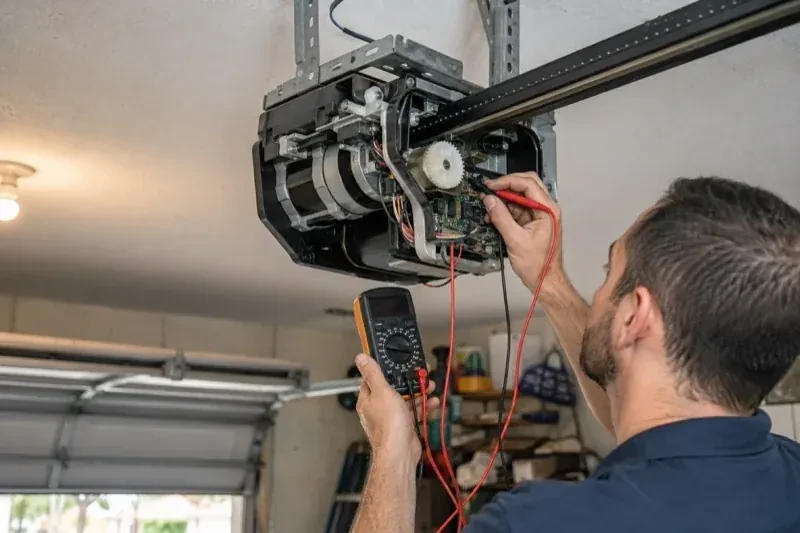
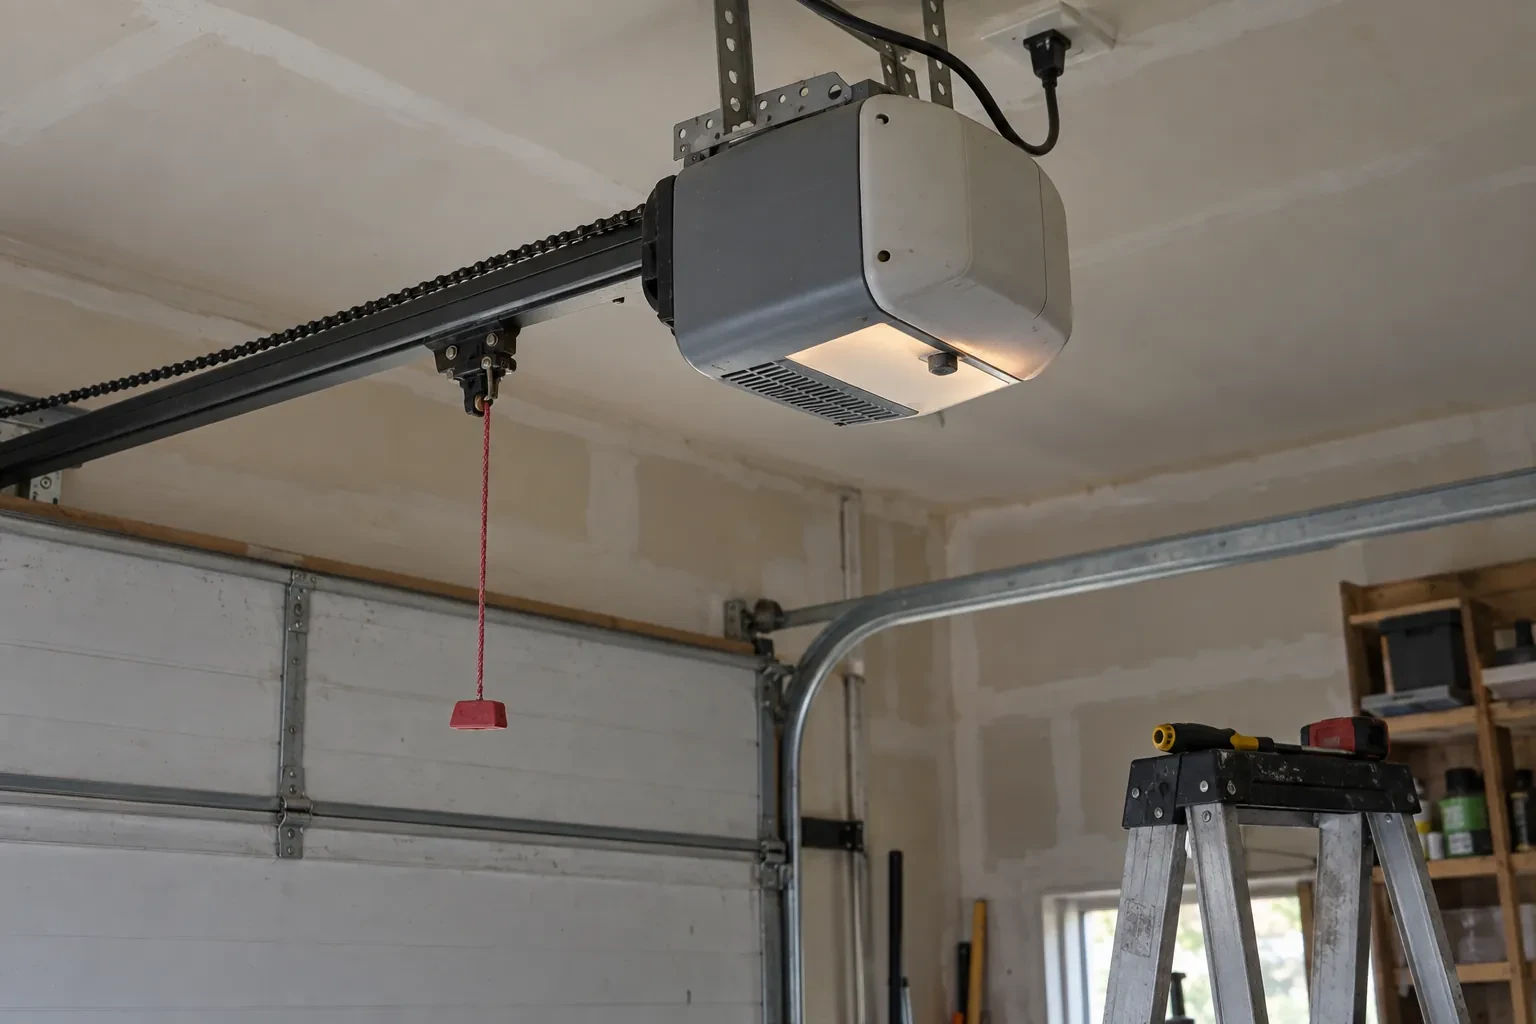
The most common belt-drive repair is the simplest: the belt has stretched over thousands of cycles and hangs slack under the rail. On its way up it slaps the rail and skips a tooth or two on the sprocket. Tension lives at the trolley, where a threaded shaft, a spring and a square nut set how much the belt is pulled taut. The technician sets that spring to the maker's stated length, confirms a little give at mid-span, then runs the door and listens. If the belt has stretched past what the adjuster allows, or the rubber has aged, a new belt goes in instead.
How the visit goesSomeone tightened the belt last month to stop the sag. Now the opener sounds like a chain drive, the motor labours on the way up, and the whole rail vibrates under the ceiling.
Belt-Drive Opener Repair
How the visit goes
Rail, joints and whatever is rubbing
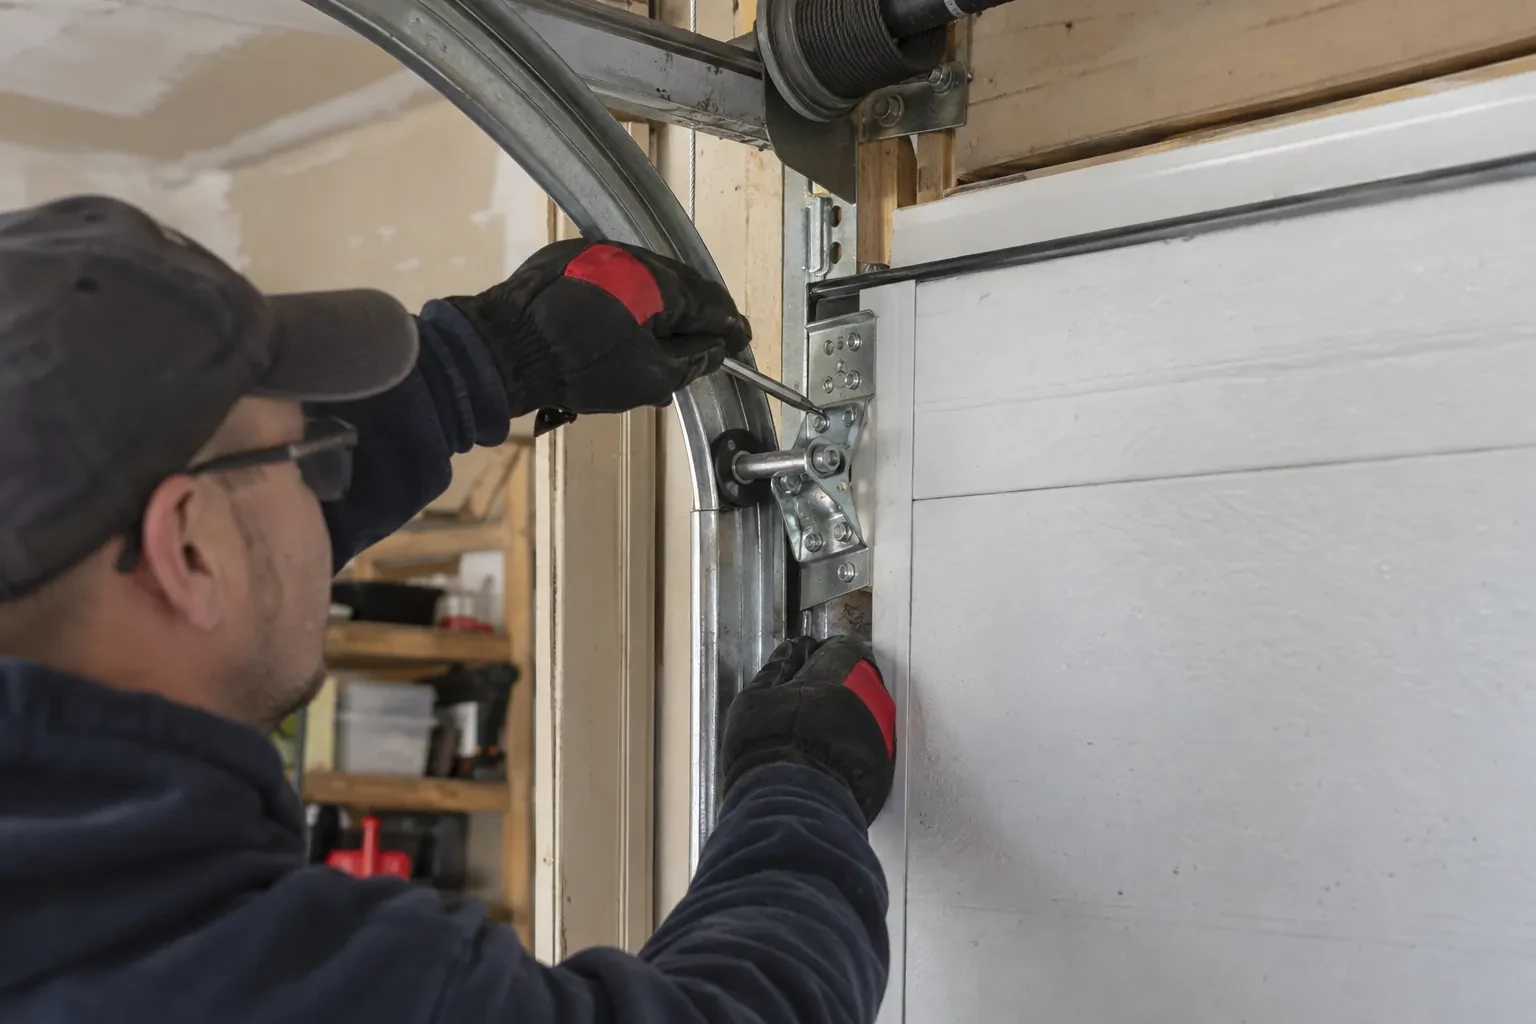
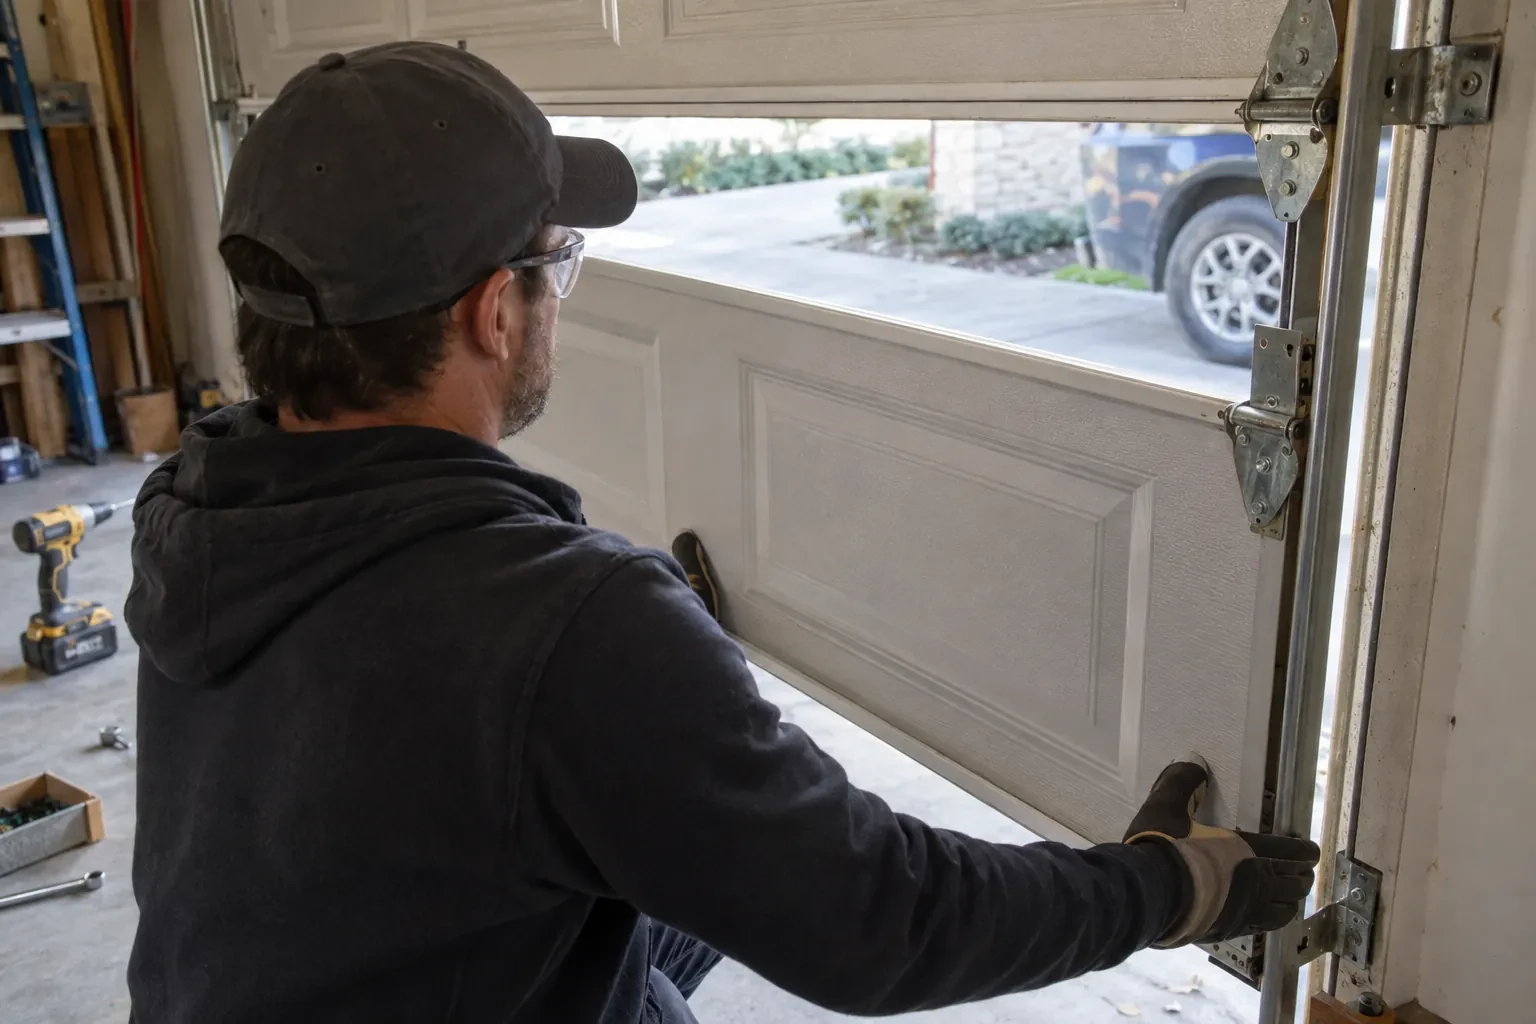
A belt frays for a reason, and the reason is usually somewhere along the rail. The technician sights the rail from the header to the motor head for a bend, a sag where a hanger has loosened, or a joint between rail sections that has stepped out of line and is catching the belt teeth each pass. Marks inside the rail show where the belt has been touching. Storage racks, a bicycle hook or a truck's roof rack lifting the rail are frequent finds. A straight, true rail lets a belt run for years without touching anything, so any of these is corrected as part of the repair rather than left to wear the new belt.
Relearning travel and force, then proving them
With the drive rebuilt and the door reconnected, the operator is taught its door again. Newer units run a learn cycle that records the full travel and the effort the door needs; older ones have limit screws and force dials set by hand. The close limit is set so the bottom seal meets the floor without the belt straining, and the open limit so the top section stops short of the header. Then the tests: a 2x4 laid flat under the door must send it back up on contact, and an object passed through the photo-eye beam must reverse it while closing. Any hesitation is adjusted and the tests are run again.
The two tests you do each month
The repair ends with the reversal tests run in front of you, and they are yours to repeat monthly. With the door fully open, lay a scrap of 2x4 flat on the floor where the door meets it, press the wall control and watch: the door should touch the wood and climb back to the top. Then, with the door closing, pass a broom handle through the beam near the floor; it should reverse the same way. Both take under a minute. If either test ever fails, stop using the operator, work the door by the red cord, and have a trained technician check it; the fault can be the settings, the sensors, the wiring or the opener itself.
Belt-Drive Opener Repair
In the van
Garage-door lubricant for hinges and rollers
Rail joint brackets and stop bolts
Drive gear and sprocket kit
Reinforced drive belt with clip
Door arm and clevis pins
Belt-Drive Opener Repair
What affects the quote
Adjustment or replacement
A tension adjustment with the safety tests is the smallest visit. A new belt, with a fresh clip, phasing and relearned limits, is a larger one, and the inspection decides which you need.
Door size and weight
A wide double door or a heavy insulated one asks more of the belt and trolley, and the inspection may point to a suitably rated opener or a top-section strut for that door, alongside the belt matched to the rail and sprocket.
Belt length and type
A belt for an 8 ft door rail is longer than one for a 7 ft rail, and belts differ by maker and tooth pitch, so the part named on the quote follows the operator's model.
What to have ready
- Is anything hung from the ceiling or rail, such as a bicycle hook or storage rack?
- Can you send a photograph along the rail showing the belt, and one of the label?
- Are there plastic shavings or grease on top of the motor housing?
Belt-Drive Opener Repair: questions
QuestionsHow long does a belt-drive repair take?
A tension adjustment with the safety tests is a short visit. Replacing the belt, trolley or idler pulley, then phasing the motor, relearning limits and running the reversal tests, is usually an hour or two. A gear-and-sprocket kit at the motor head takes longer because the head unit is opened. If the balance test turns up spring work, that is agreed as a separate job with its own time.
Can the belt just be tightened, or does it need replacing?
Tightening is the first thing tried. Tension is set at the inner trolley by a square nut that compresses a spring to the length the maker specifies. If the belt reaches that setting and runs without sprocket noise, it stays. If the adjuster is wound to its end and the belt still sags, or the rubber is cracked, glazed or missing teeth, a new belt is the right repair.
Can I adjust the belt tension myself?
The adjustment nut is reachable and some owners do, but there are two things to get right. The operator must be unplugged and the door released first, and the spring must be set to the maker's length rather than tightened until the sag disappears, since an over-tight belt is noisy and hard on the motor. After any change, the reversal tests should be repeated. Many people prefer to have it done during a service.
Related services
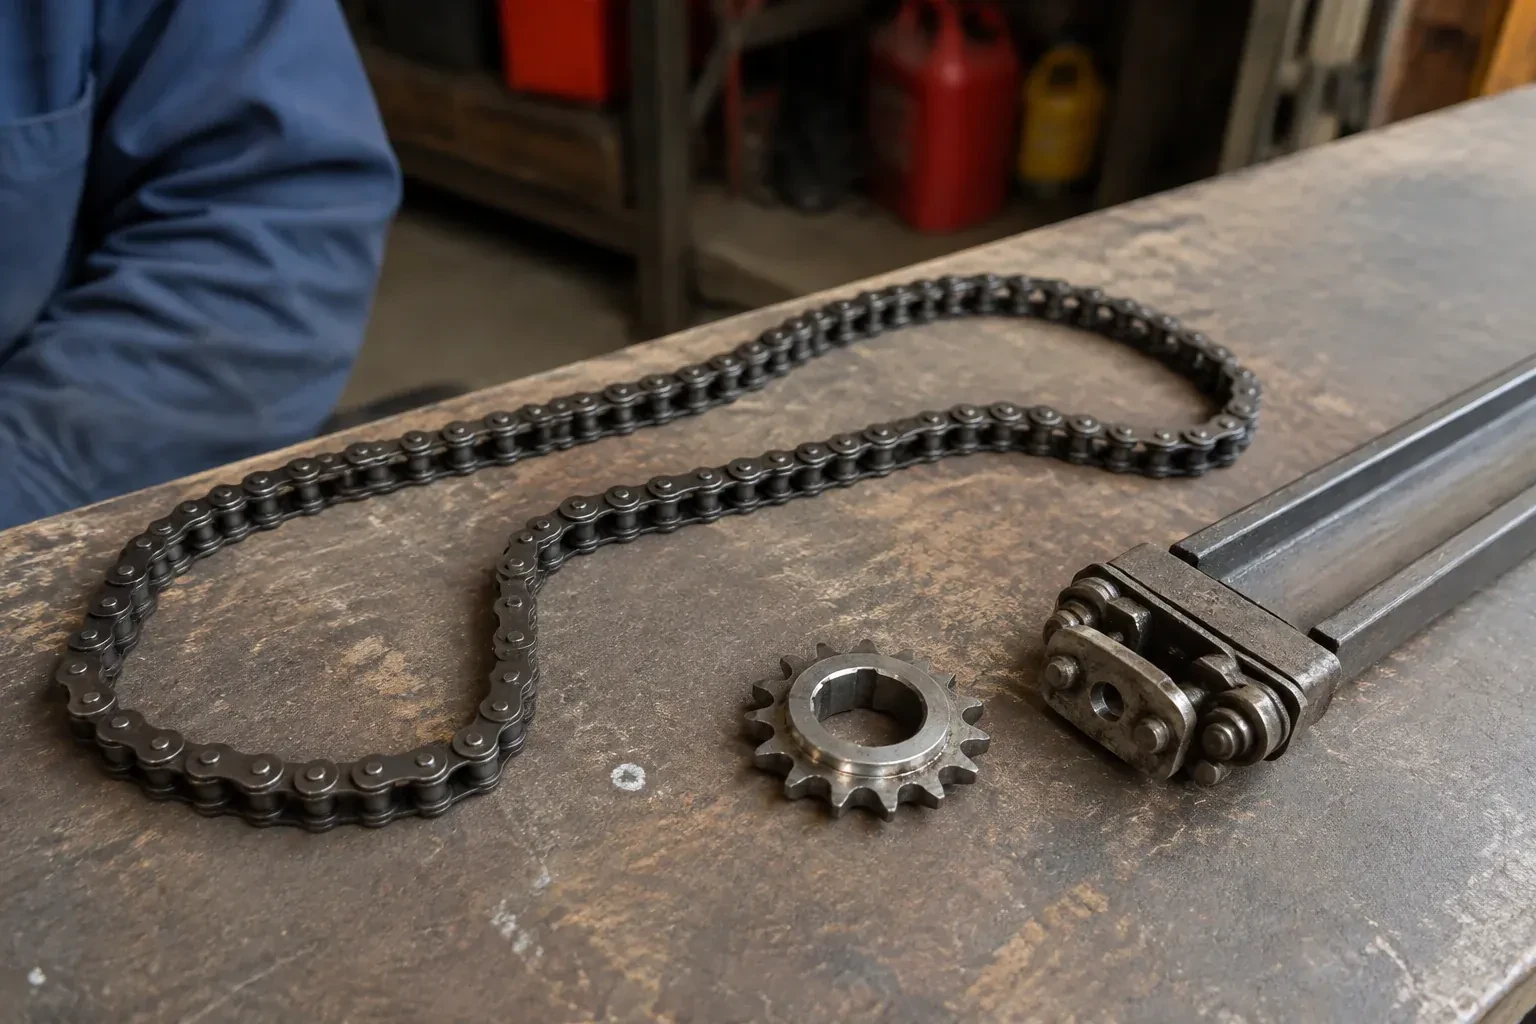
- Chain-Drive Opener RepairThe chain in the detached garage went orange with rust over the winter, the links are stiff, and the opener strains and groans to pull the door up.
- Garage Door Opener ReplacementYou swapped the old wooden door for a heavier insulated steel one, and the twenty-year-old opener that was kept has never settled.
- Photo-Eye Sensor Alignment or ReplacementThe small light on one of the sensors near the floor has gone dark, or it flickers when someone walks past the track.