Openers · Toronto
Smart Garage Controller Setup
It is February.
In plain words
By the end of the visit your phone shows the door's true state, updates within a few seconds of any movement, and keeps a history of every open and close with the time, and the user when the command came from a signed-in app or virtual key. You can open the door for a delivery from the office, let a relative in for the weekend, and get a nudge if the door is still up at bedtime. Your remotes, keypad and wall button carry on exactly as before. And you understand the system well enough to add a user, change an alert or swap the sensor battery without calling anyone.
How the visit goesOne remote lives in a car you sold last spring. The other needs three presses from the driveway and its battery cover is taped on. Your phone is already in your hand when you pull in, and it would make a better opener.
Smart Garage Controller Setup
How the visit goes
The door before the app
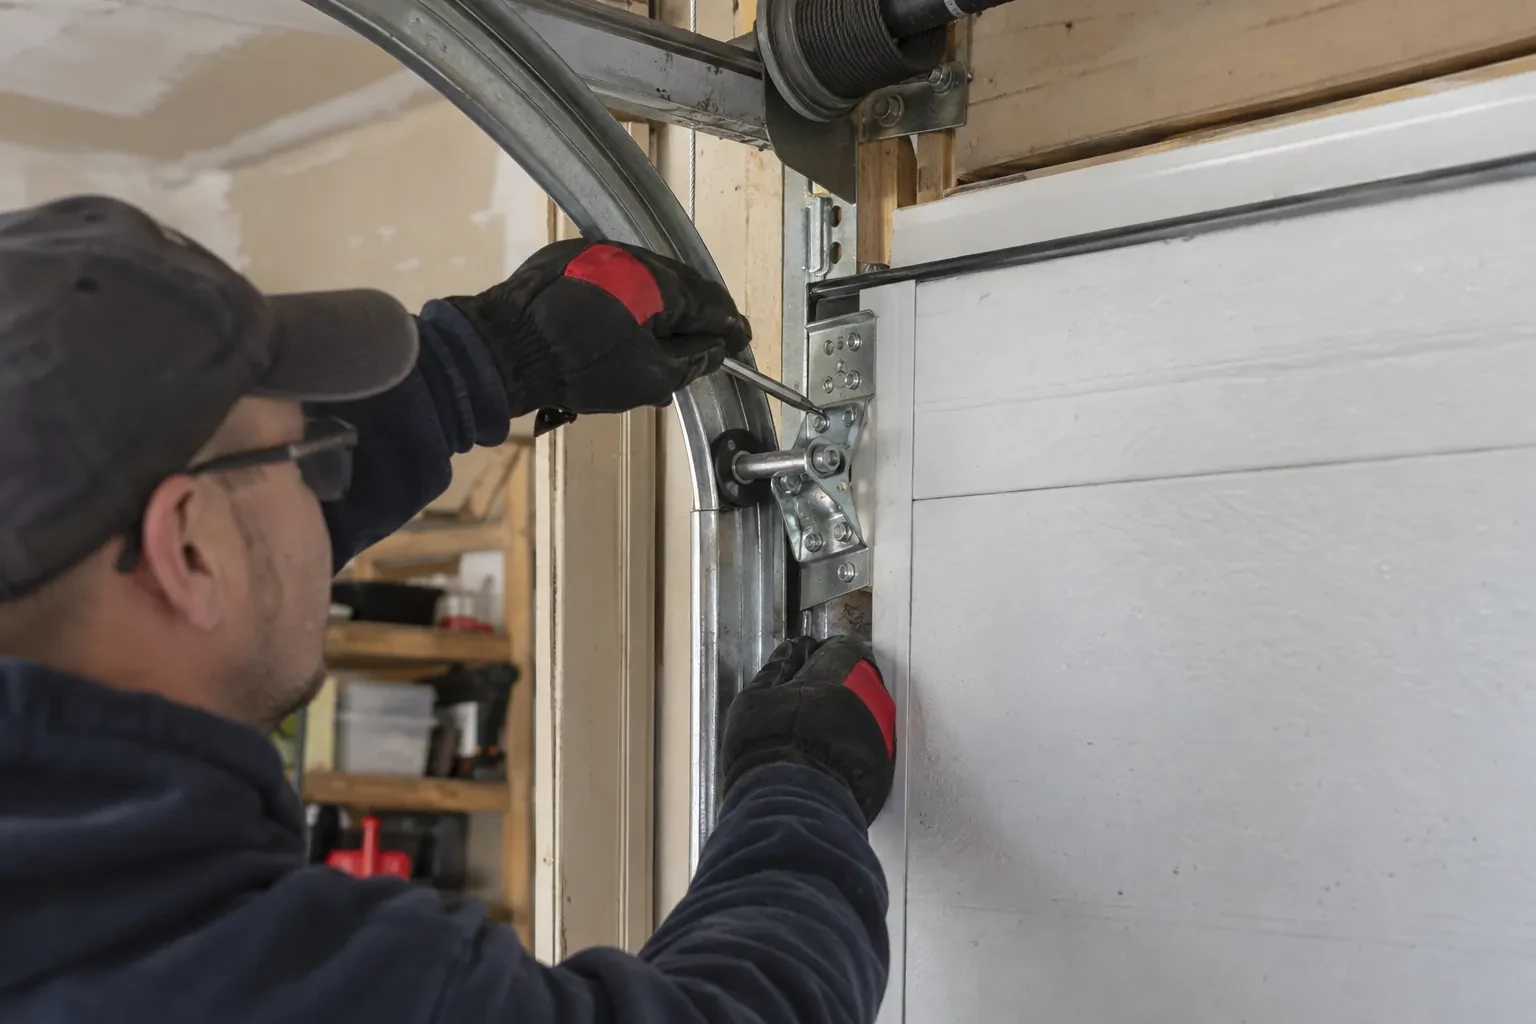
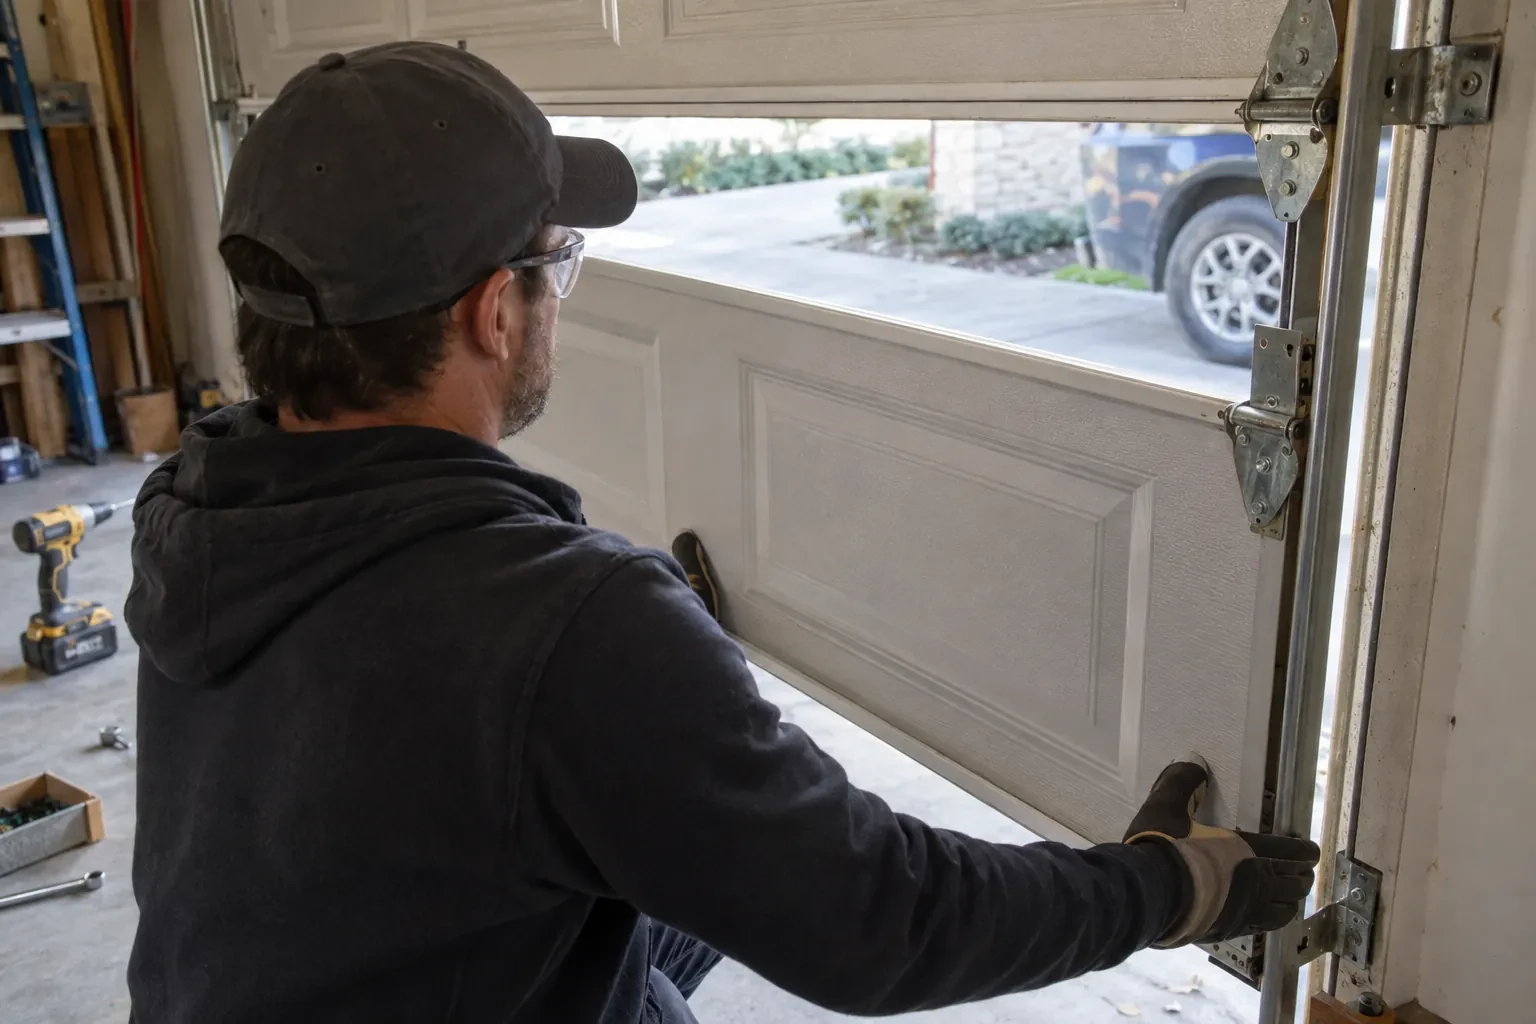
A smart controller sits on top of a mechanical system, so the mechanical system is checked first. With the door closed the trolley is released and the door lifted by hand: it should rise with modest effort, hold at about a metre and stay fully open. Rollers, hinges, cables and track are looked over, and the opener is run from the wall control to watch its travel and hear its drive. A balanced, smooth door gives the controller reliable position reporting and gives you an opener that is not straining every time your phone asks it to move. Anything found here is put right before the connected part begins.
Wiring a hub to the wall-control terminals
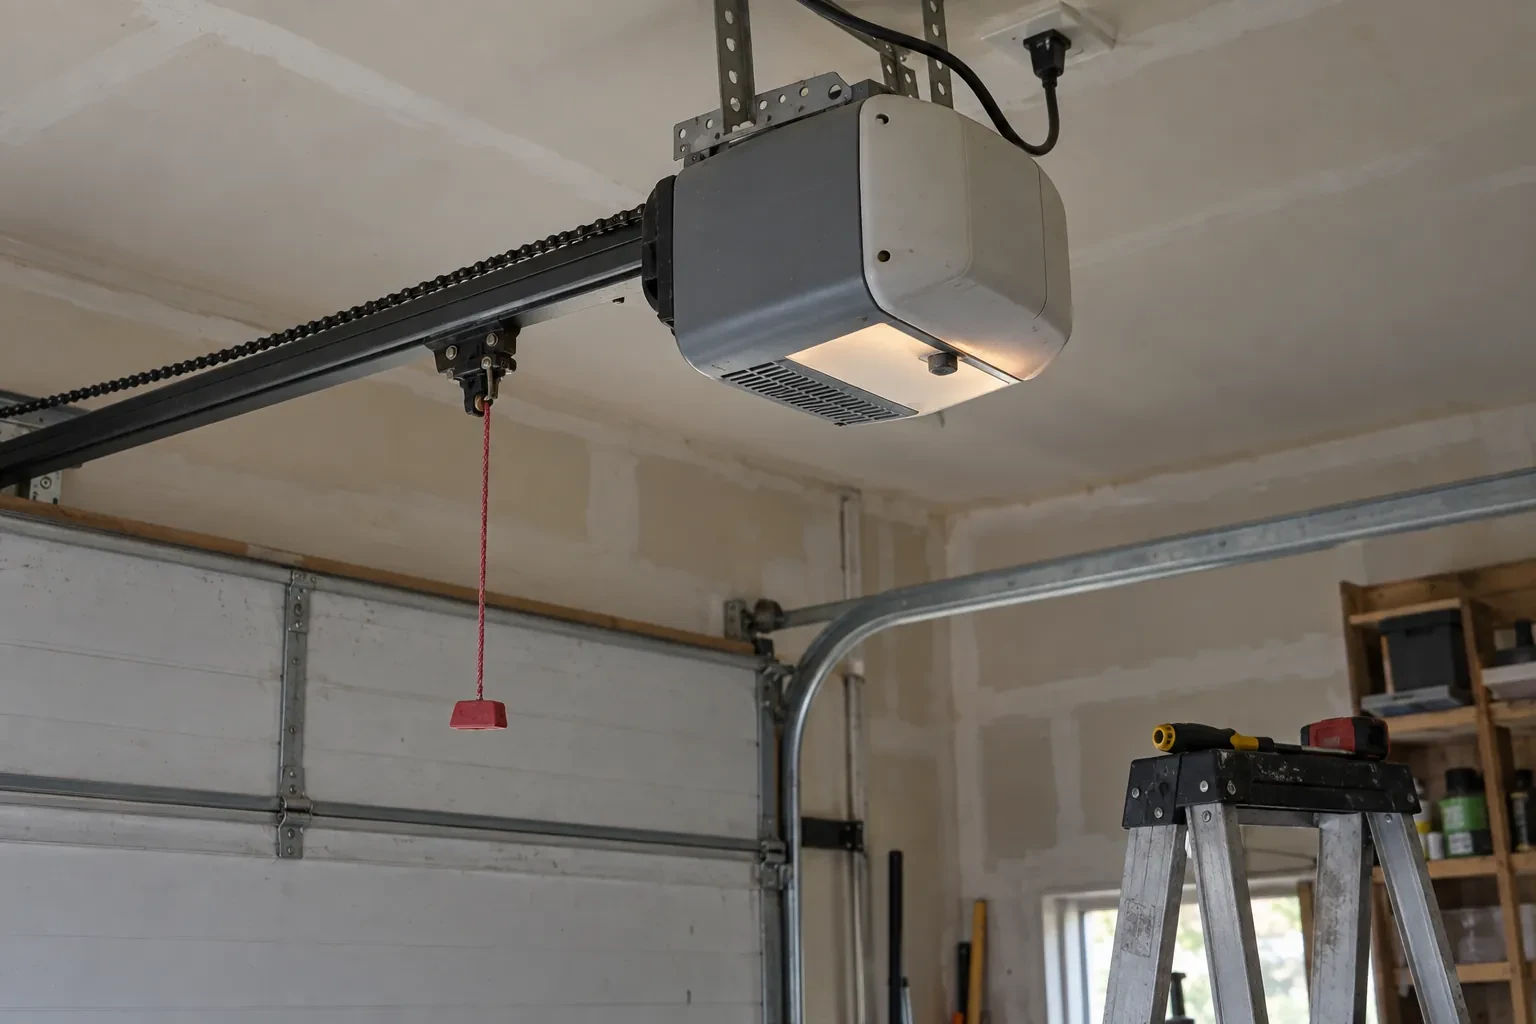
On openers that accept a simple push-button contact, the hub is connected with two lengths of low-voltage bell wire to the same terminals the wall console uses. The technician routes the wire along the rail or ceiling, clipped clear of the chain and trolley, and lands it neatly beside the existing console wires. Openers that use an encrypted wall console take a different route: either the hub pairs by radio, taught to the opener through the learn button like a new remote, or a small dry-contact adapter sits between them. Whichever applies, the wall console keeps working exactly as before, and the hub simply becomes one more way to give the same command.
The monthly tests still matter
Adding a controller changes nothing about the physical checks the door needs, and adds one. Each month, lay a 2x4 flat under the door centre and close it; it must reverse on contact. Break the photo-eye beam with a broom handle while closing; it must stop and rise. Then close the door from the app out of sight, and listen for the beeper and watch for the light before movement. If any of the three fails, stop using the opener, move the door by hand only if it must move, and have a technician correct it before the opener is used again. These tests take a couple of minutes and are why remote closing can be trusted.
Smart Garage Controller Setup
In the van
Replacement photo-eye pair
Dry-contact adapter for encrypted openers
Door-position tilt sensor
Retrofit smart hub
A 2x4 offcut for the reversal test
Smart Garage Controller Setup
What affects the quote
Users and devices to set up
Each family member's login, each phone that should receive alerts and each guest access is set up and tested individually, so say how many people are involved.
Number of doors
A second door means a second sensor, a second round of pairing and testing and sometimes a second hub, and each door is quoted as its own line.
Alerts, schedules and integrations
A left-open alert and a nightly schedule are standard. Linking the door to other smart-home systems or setting up several schedules is additional configuration.
What to have ready
- Are both photo-eye sensors near the floor lit steadily?
- Does your wall console have a digital display or just a button?
- What brand and model is your opener, and roughly how old is it?
Smart Garage Controller Setup: questions
QuestionsMy garage is detached. Will the signal reach?
Sometimes on its own, often with help. A driveway, two exterior walls and a metal-clad garage can knock a signal down to the point where the hub connects but drops offline regularly. The technician measures at the mounting spot and, where the reading is marginal, adds a small access point or extender positioned to bridge the gap, so the hub joins a strong signal from day one rather than a weak one you have to keep nursing.
What should I have ready before the visit?
A photo of the label on the opener and of the learn button, your Wi-Fi network name and password to hand, the phone you will use with the app charged and updated, and the email address the account should live under. If the house came with an existing controller, any paperwork or the seller's contact details help. Knowing which family members need access saves time at the end.
Does the controller need the photo-eye sensors to work?
For remote closing, yes. Controllers built to the operator standard check for a working sensor circuit before allowing a close from out of sight, and the door must stop and reverse if the beam is broken. Opening remotely and checking status generally work regardless. If your photo eyes are missing, dark or misaligned, they are put right as part of getting the door ready for the feature you actually want.
Related services
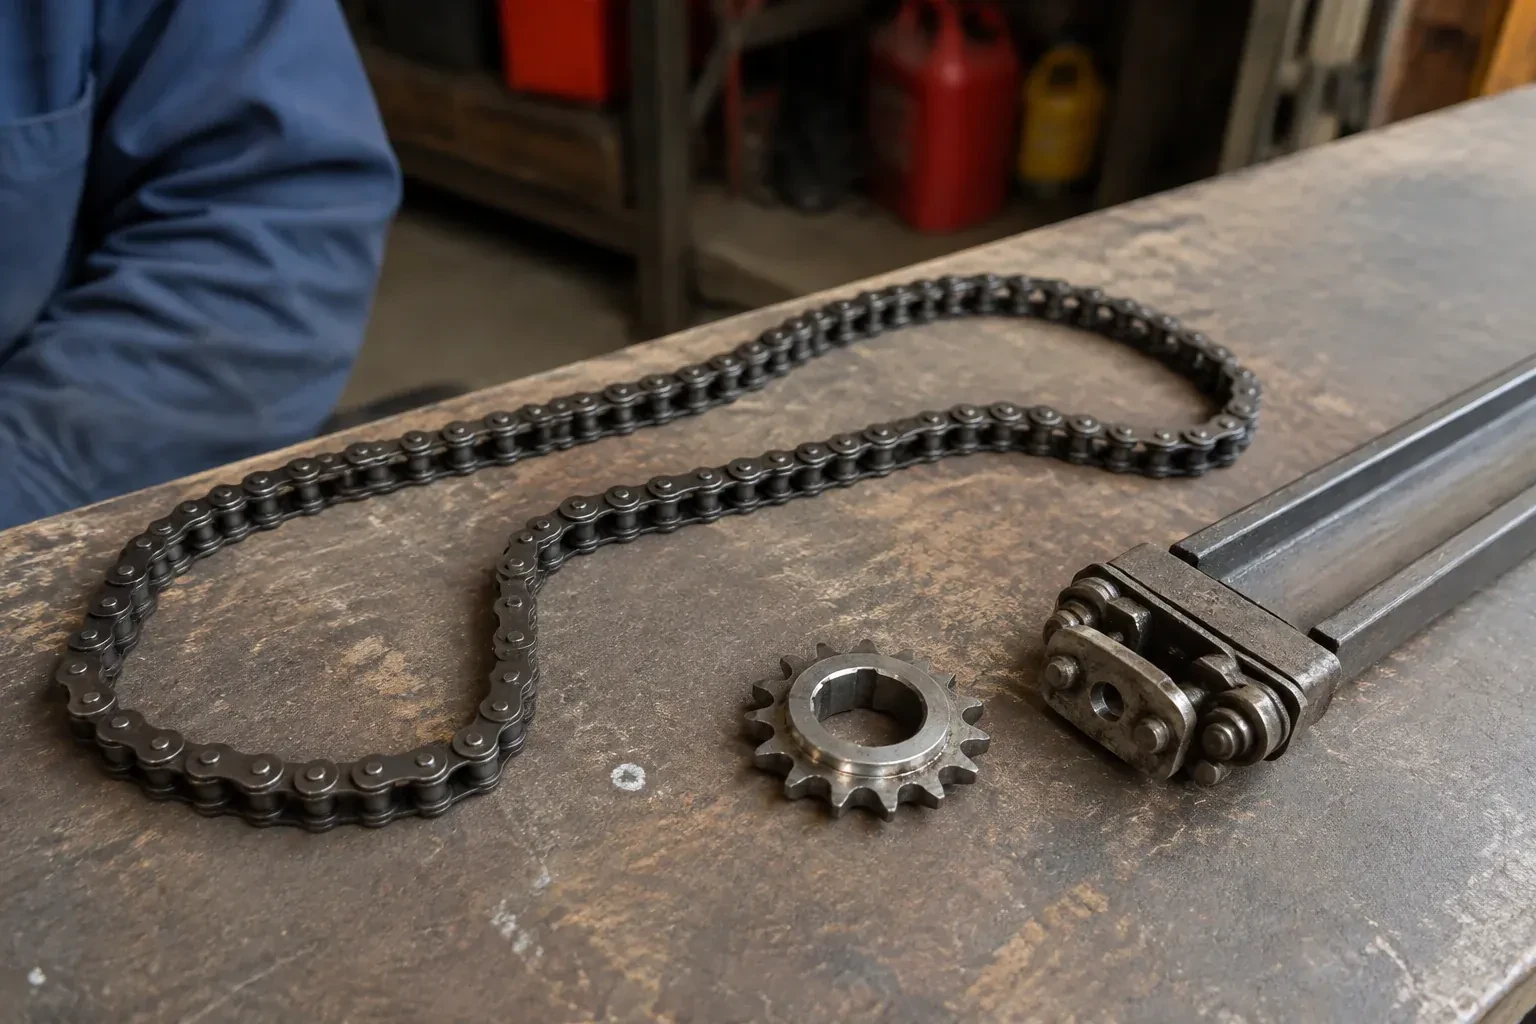
- Chain-Drive Opener RepairThe chain in the detached garage went orange with rust over the winter, the links are stiff, and the opener strains and groans to pull the door up.
- Belt-Drive Opener RepairThe door used to glide up with a soft hum.
- Garage Door Opener ReplacementYou swapped the old wooden door for a heavier insulated steel one, and the twenty-year-old opener that was kept has never settled.