Openers · Bendale
Photo-Eye Sensor Alignment or Replacement in Bendale
The small light on one of the sensors near the floor has gone dark, or it flickers when someone walks past the track.
In plain words
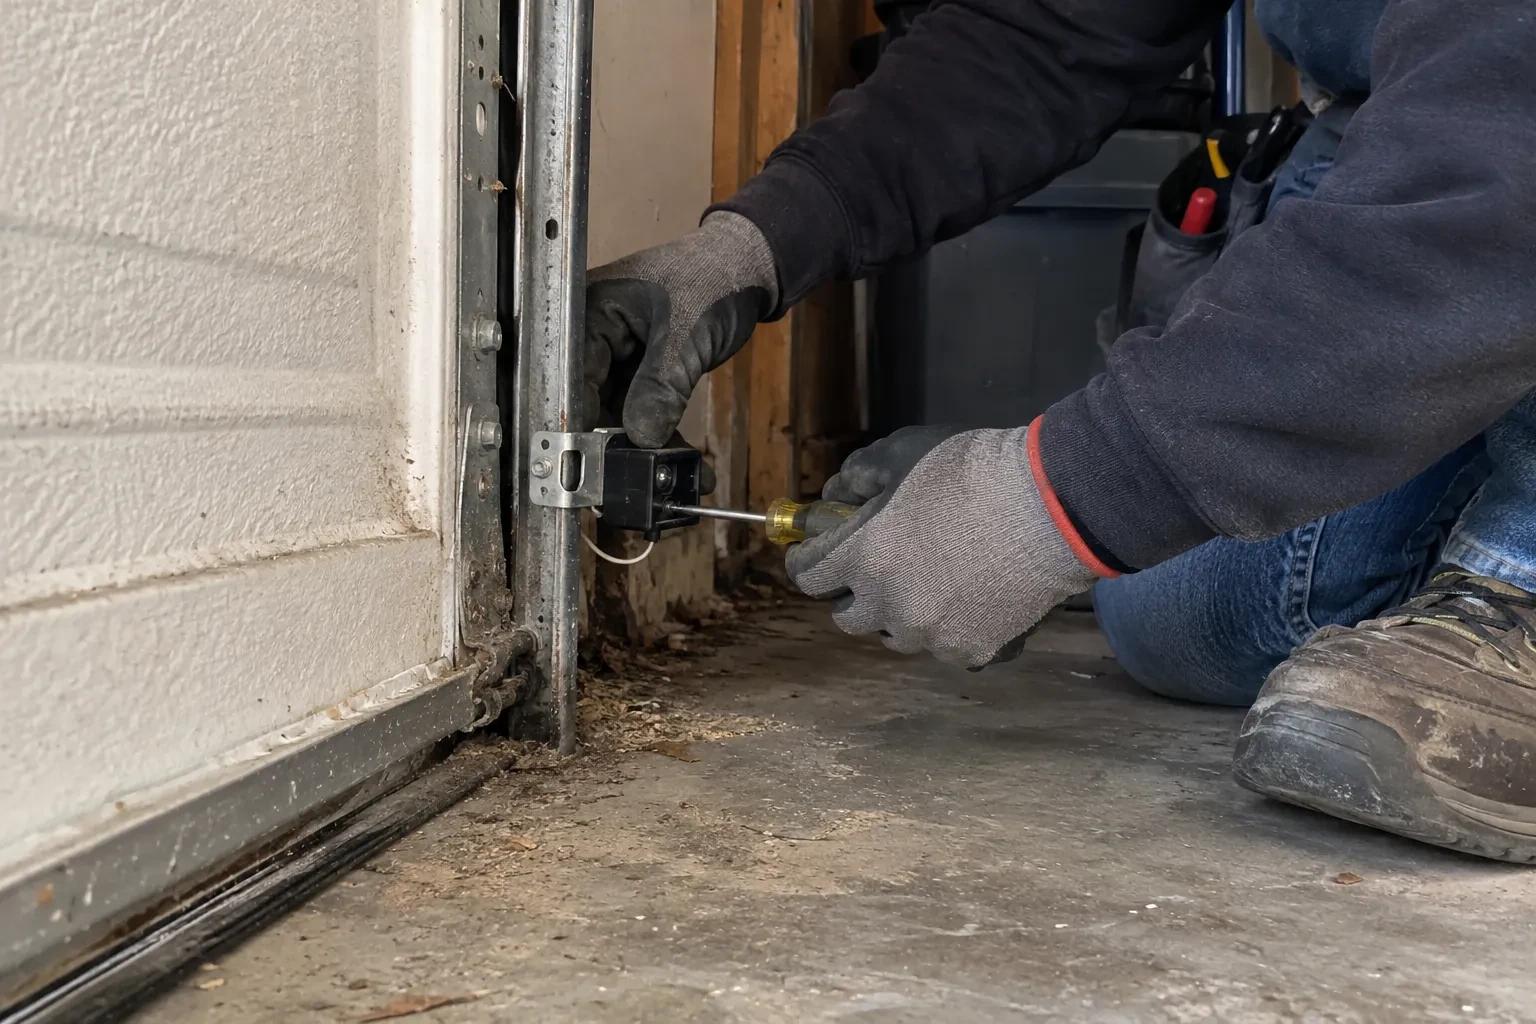
Photo-eye sensor service brings back the invisible beam that runs across the bottom of your doorway and lets the opener close with confidence. A technician clears the path, checks each sensor's indicator, tests the low-voltage wiring back to the head unit, and reads the opener's own diagnostic lights to tell an obstruction from a wiring fault. Brackets are straightened and refastened, lenses cleaned, and the pair aimed at each other at the same height no higher than 15 cm off the floor. If a sensor has failed, a matched pair for that opener family goes in. The visit ends with a beam test and a contact reversal test.
How the visit goesSince shelving went up along the garage wall, the door will not close and both sensor lights are dead. A screw or staple may have gone through the thin wire that runs from the opener to the sensors.
Photo-Eye Sensor Alignment or Replacement
How the visit goes
Counting the opener's flashes
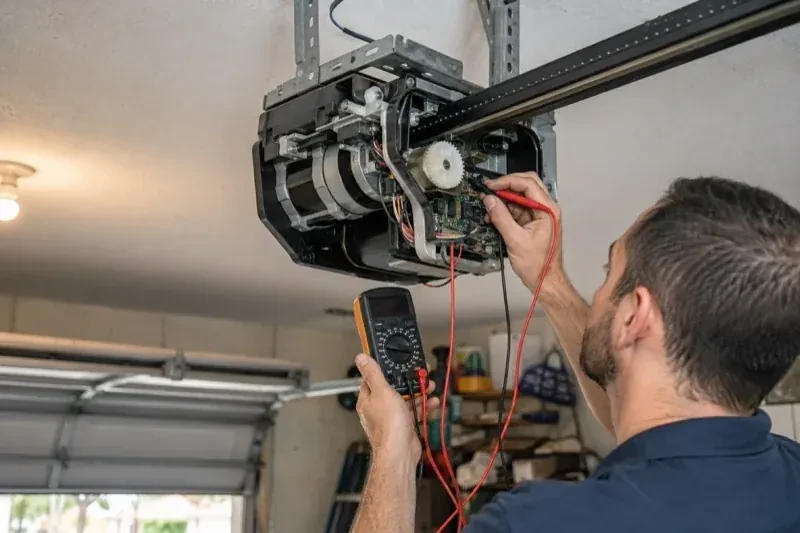
The head unit has its own way of reporting a sensor problem. Many openers flash the light bulb a fixed number of times when close is pressed and the beam is not satisfied, and newer units blink a code on their up and down arrows that separates a blocked or misaligned beam from a cut wire, a disconnected pair or reversed wiring. The technician reads the model off the label, counts the pattern and matches it to the maker's chart. This is what keeps the visit efficient: a code that says the circuit is open sends the work to the wiring, while a code that says obstructed or misaligned sends it to the brackets.
Fitting a matched sensor pair
When a sensor has failed, the replacement is chosen for the opener rather than from a shelf of lookalikes. The technician confirms the make and generation from the head unit label, because sensors from one era are not always recognised by a board from another. The new sending and receiving sensors are mounted on the existing or new brackets at matched heights, wired with the connectors supplied, and brought up until both indicators glow steadily. Universal pairs exist for some operators and are used where they are documented to suit that model; where the opener is old enough that no compatible pair is made, the conversation moves to a modern operator.
A door that closes from the driveway again
The change you notice first is the ordinary one: you press the remote from the car, the door goes all the way down, and nobody has to stand in the garage holding a button. Behind that is a beam that is once more crossing the doorway at the right height, a pair of sensors that agree with each other, and an opener that is no longer flashing a warning every time you ask it to close. The door still stops and returns to open whenever the beam is broken, which is exactly what it should do, and now it does that only when something is genuinely in the way.
Photo-Eye Sensor Alignment or Replacement
In the van
Two-conductor low-voltage wire
Wing nuts and carriage bolts
Wall or floor angle brackets
Insulated wire staples
Matched photo-eye sensor pair
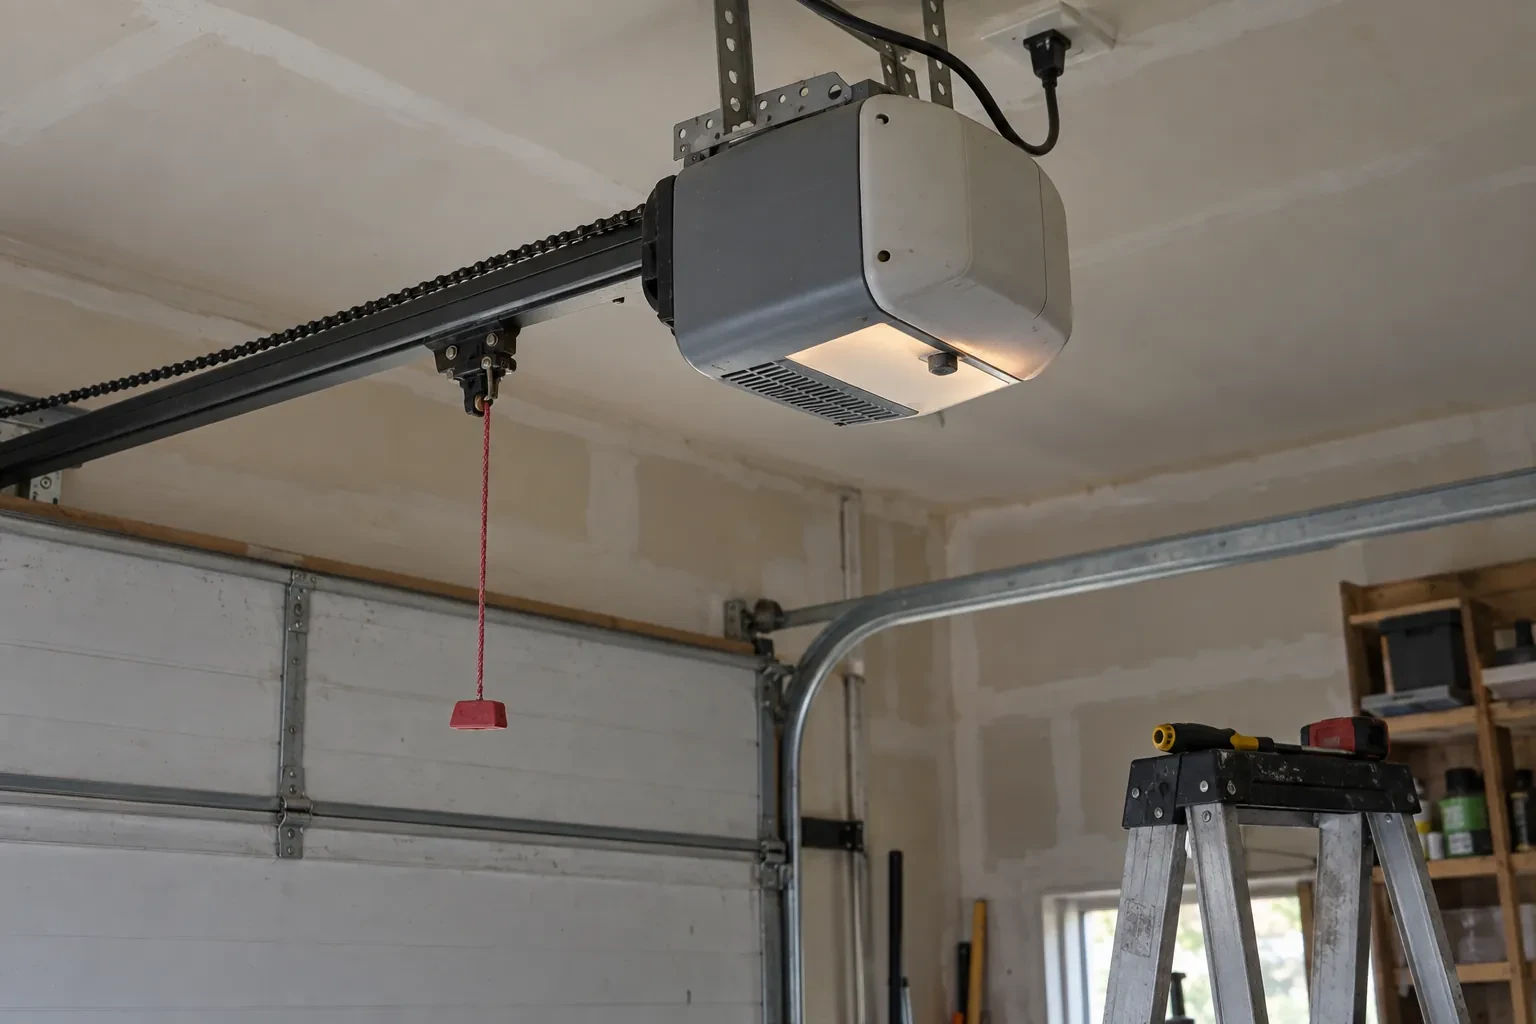
Photo-Eye Sensor Alignment or Replacement
What affects the quote
Winter conditions on the day
Snow and ice packed against the brackets, a frozen bottom seal or a frozen floor where anchors must go all add a little clearing and care before the sensor work itself can start.
Corrosion reaching the head unit
Where salt and water have travelled up the wire to the terminals, or the sensor terminals on the board are damaged, the repair extends beyond the pair and that is set out separately.
Number of doors
Each opener has its own sensor pair and wire run, so a double garage with two doors is two sets of checks, two possible pairs and two rounds of testing, quoted per door.
What to have ready
- What do the two small sensor lights show: both steady, one dark or flickering, or both dark?
- Are there sensors at the floor on both sides, or are they missing or mounted up beside the motor?
- Which direction does the garage door face?
Photo-Eye Sensor Alignment or Replacement: questions
QuestionsWhat tests are done before the technician leaves?
Two, and you are invited to watch. With the door closing, an object is passed through the beam and the door has to halt and climb back to the top. A 2x4 laid flat beneath the door's centre comes next; closing onto it must make the door back off on contact. The door is also run from the wall control and a remote, the opener's warning flashes are confirmed gone, and both sensor lights are shown steady.
How do I test the sensors each month?
Start the door closing and, while it is moving, swing a broom handle through the beam low across the opening; the door should halt and travel back up. Next, put a 2x4 flat beneath the door's centre and run the door onto it; it should back off as soon as it touches. If either test fails, close the door first if you can, use it by hand with the manual release, and book a visit; do not release it if it feels heavy.
The opener light blinks when I press close. Is that the sensors?
Very often, yes. A blinking bulb after a close command is the opener reporting that its sensor circuit is unhappy, and the count of blinks is the message: one common family uses ten flashes for the sensors, while a short two-flash pattern usually means the wall control's lock button is on. Newer units add arrow codes that separate a blocked beam from a cut or reversed wire. Counting the flashes and telling the technician the make helps identify the cause before the visit.
Related services
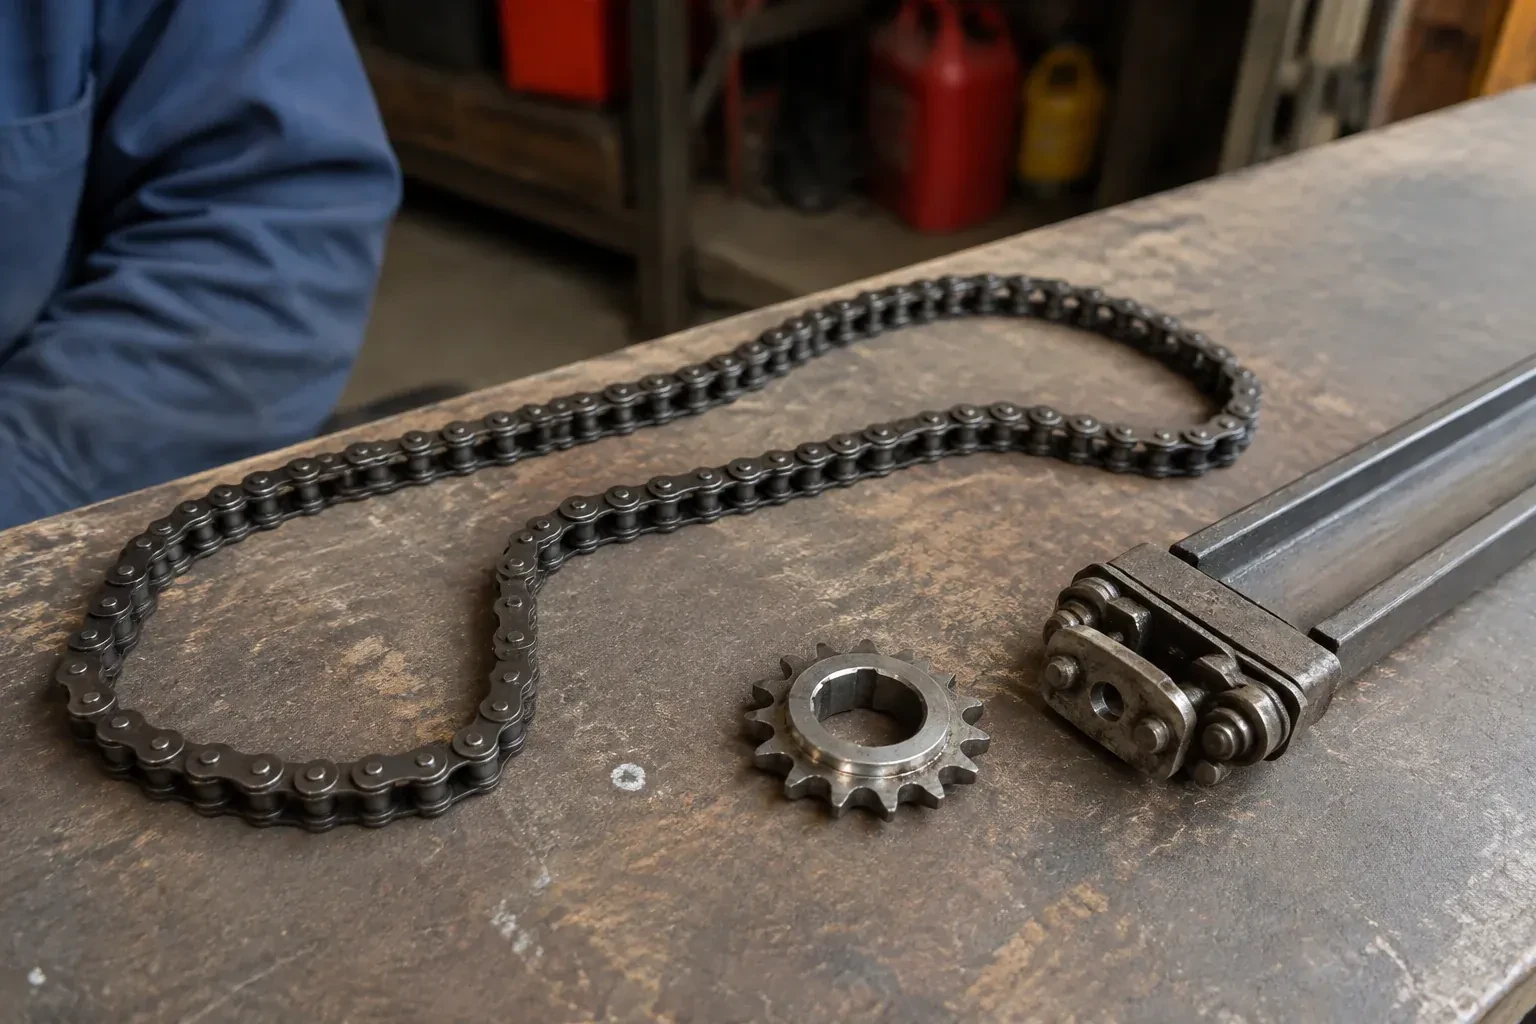
- Chain-Drive Opener RepairThe chain in the detached garage went orange with rust over the winter, the links are stiff, and the opener strains and groans to pull the door up.
- Belt-Drive Opener RepairThe door used to glide up with a soft hum.
- Garage Door Opener ReplacementYou swapped the old wooden door for a heavier insulated steel one, and the twenty-year-old opener that was kept has never settled.