Repairs · Bendale
Garage Door Perimeter Weatherstrip in Bendale
Dry leaves keep appearing in the same corner inside the garage, and this fall there were mouse droppings along the wall beside the door.
In plain words
The skill in this job is in the position of the fin. It should touch the door with a small, even deflection, so that it seals when the door is closed and springs clear as the door lifts. Set too far off, it leaves a standing gap; pushed too hard, it drags, folds under and tears within a season. The header piece goes on first, fastened from the centre outward so it stays straight, and the sides are fitted tight beneath it so the fins overlap at the corners. Fasteners are spaced evenly in sound wood, and any joint where water could get behind the stop is caulked.
How the visit goesAfter a windy night there is a fine ridge of snow on the garage floor along one side of the door, and another across the top step. The door was shut the whole time; the snow came in around it.
Garage Door Perimeter Weatherstrip
How the visit goes
A daylight test from inside
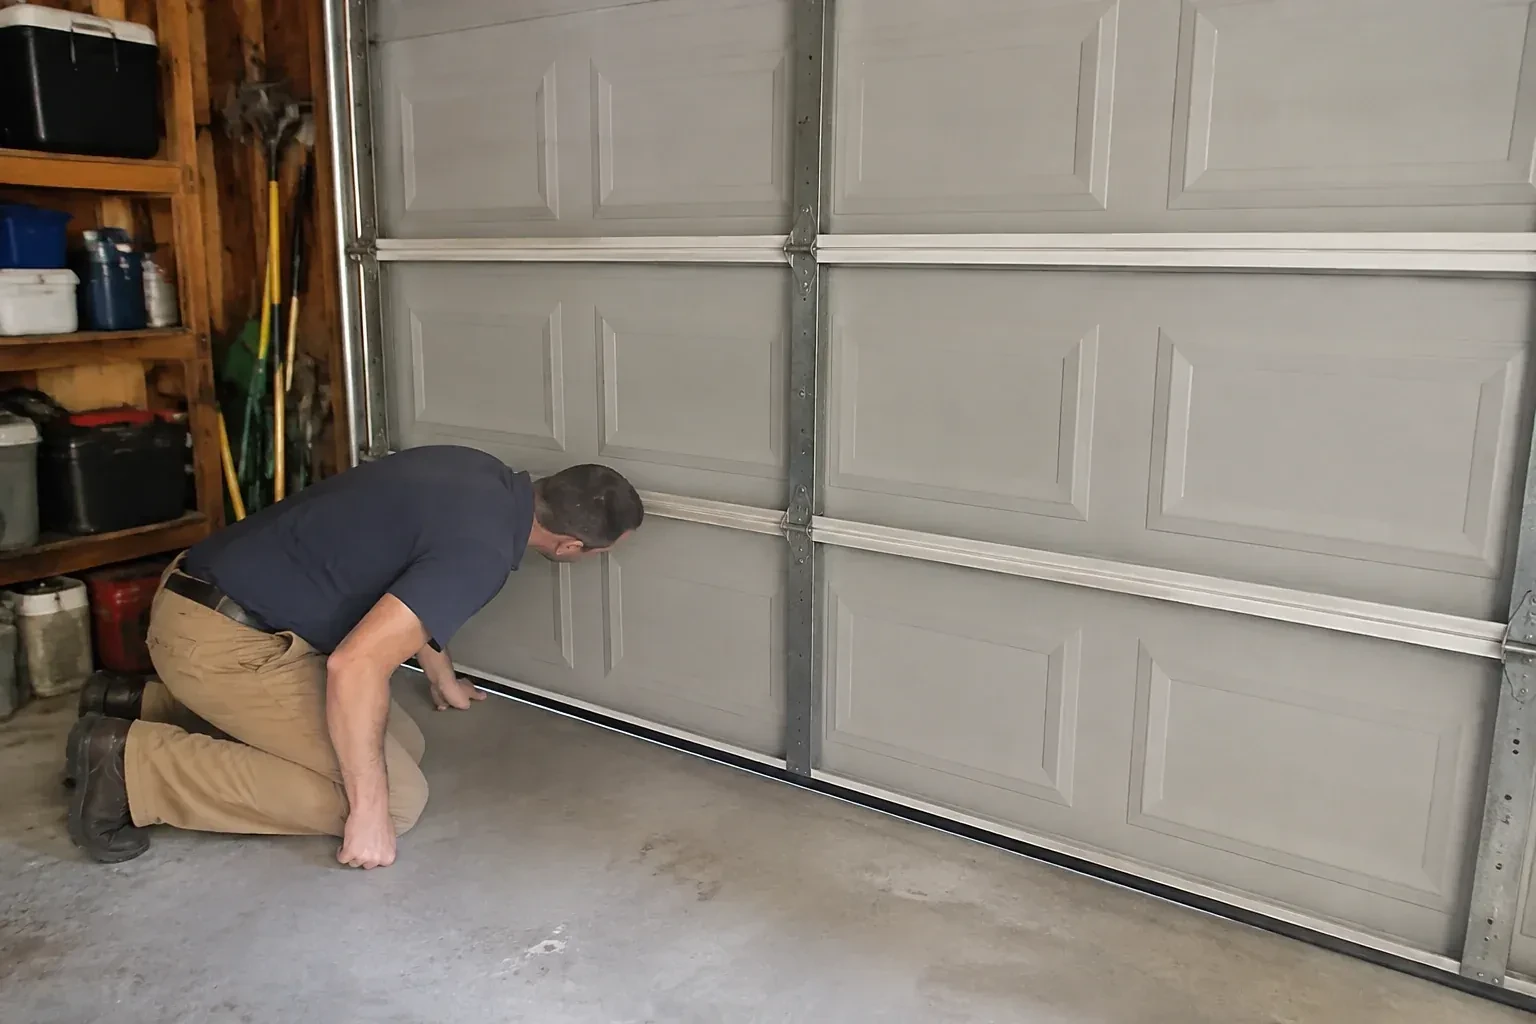
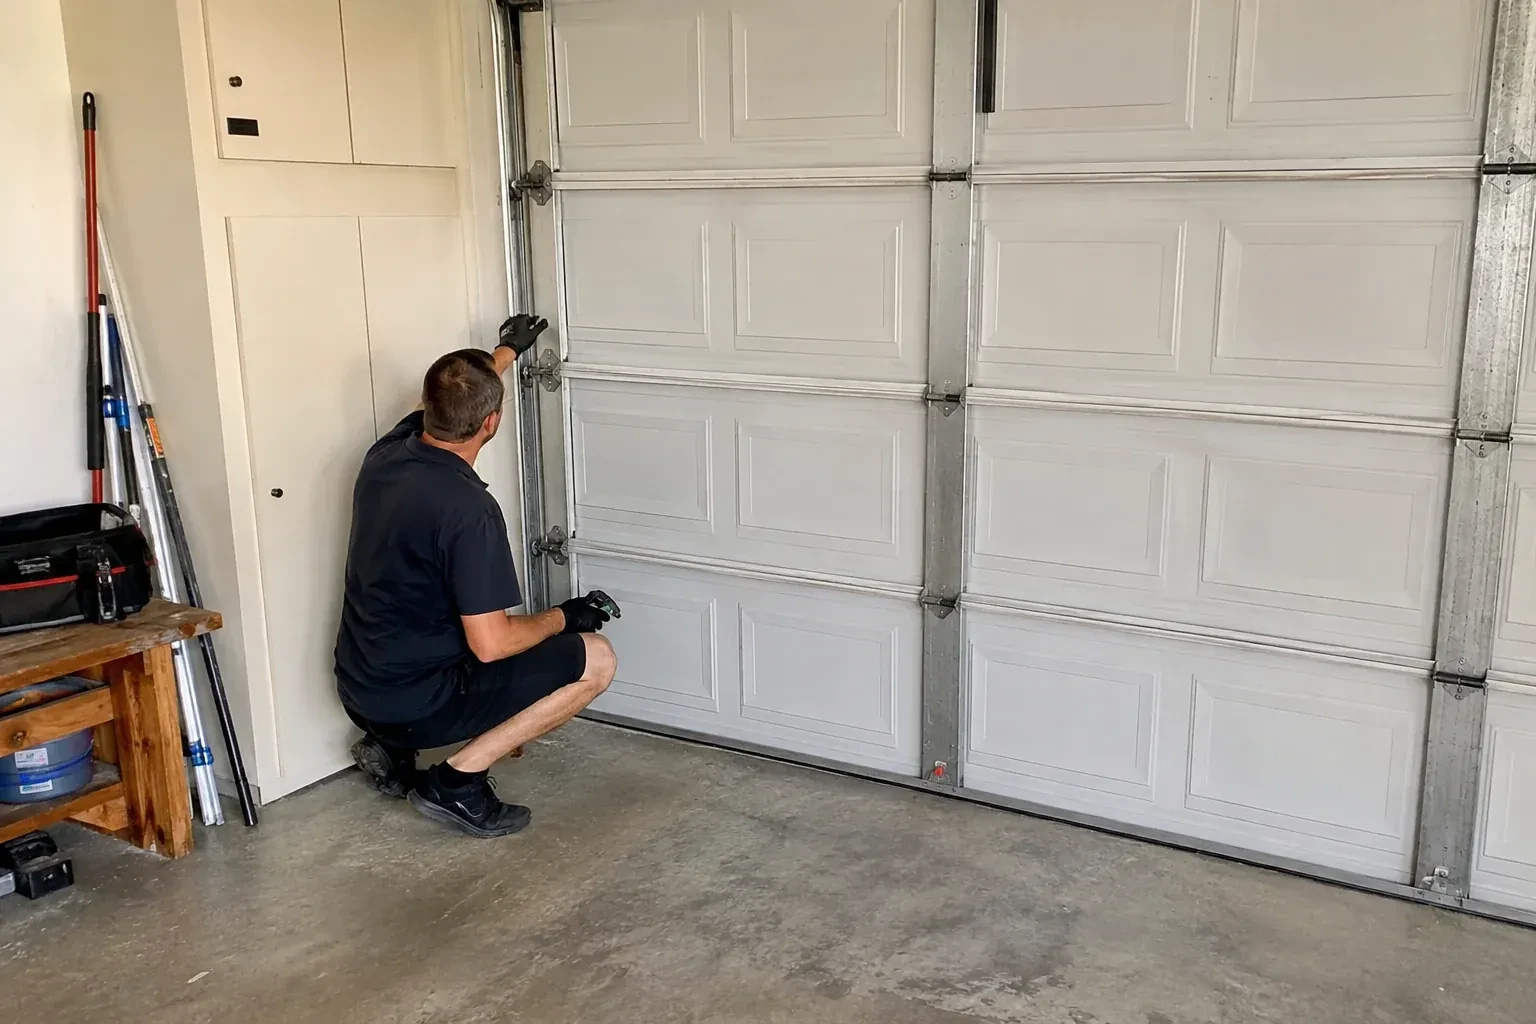
The first check needs no tools. The door is closed, the garage lights go off, and the technician stands inside looking along each side and across the header for lines of daylight. A bright, even line means the fin has shrunk back or hardened; a wedge that widens toward the top or bottom points to the door sitting out of square; a gap only at a corner means the pieces were never overlapped. On a windy day a hand or a smoke pencil along the edge finds drafts that daylight misses. The pattern of the gaps is what tells the technician whether the seal alone is the answer or whether the door needs a small adjustment first.
Taking off the old strip cleanly
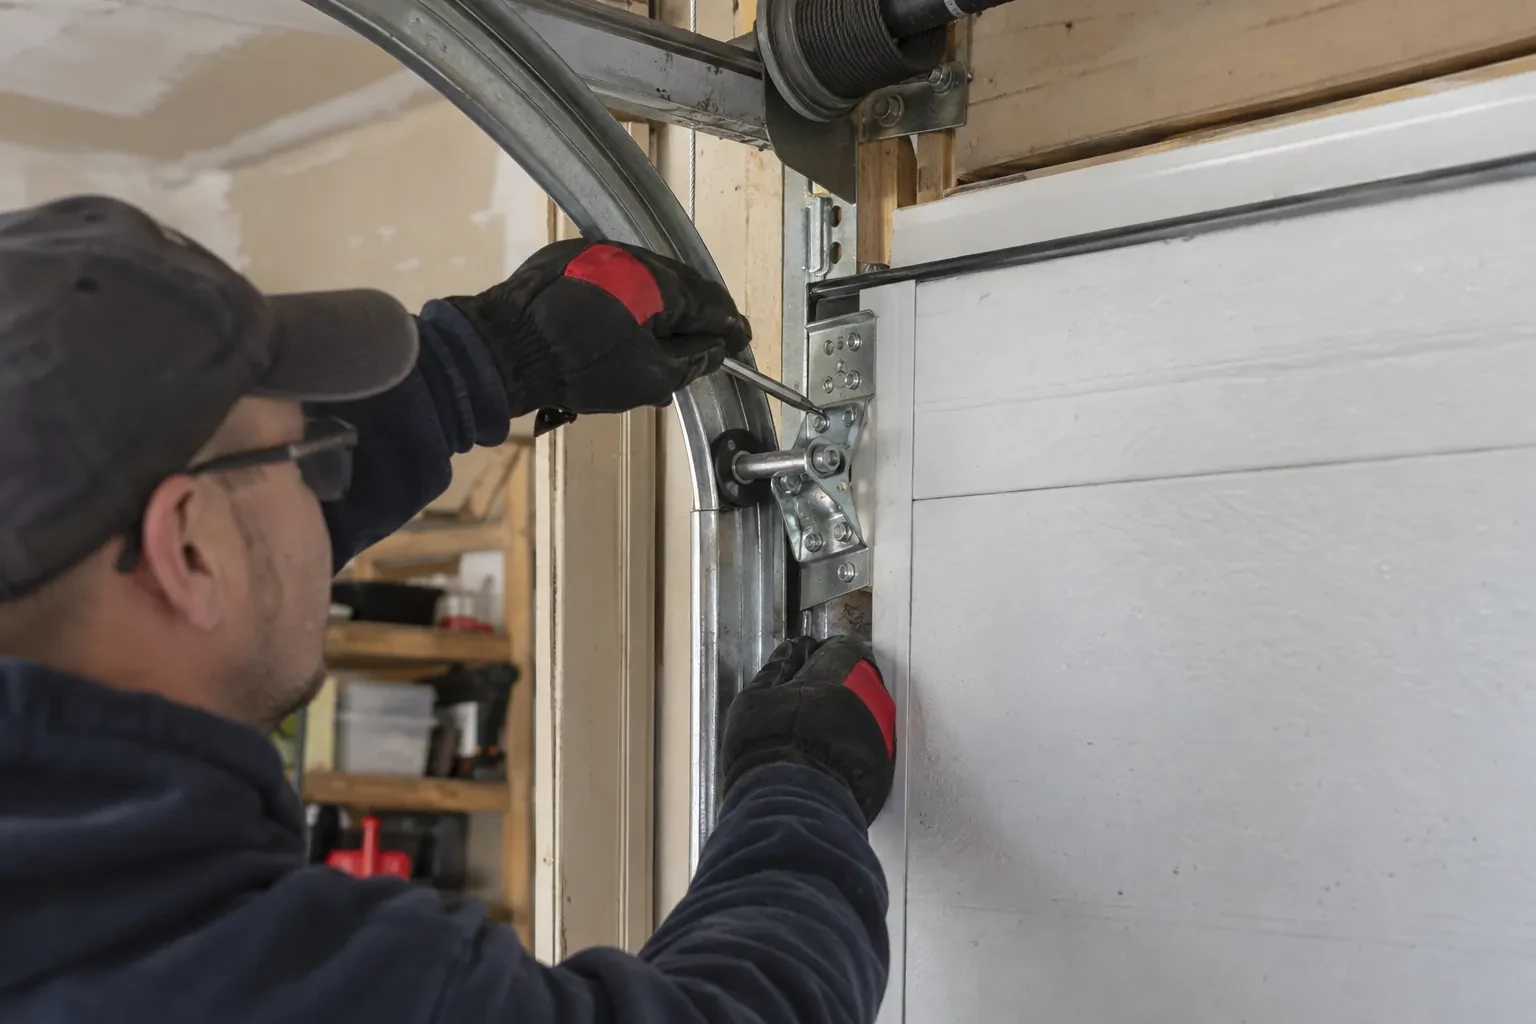
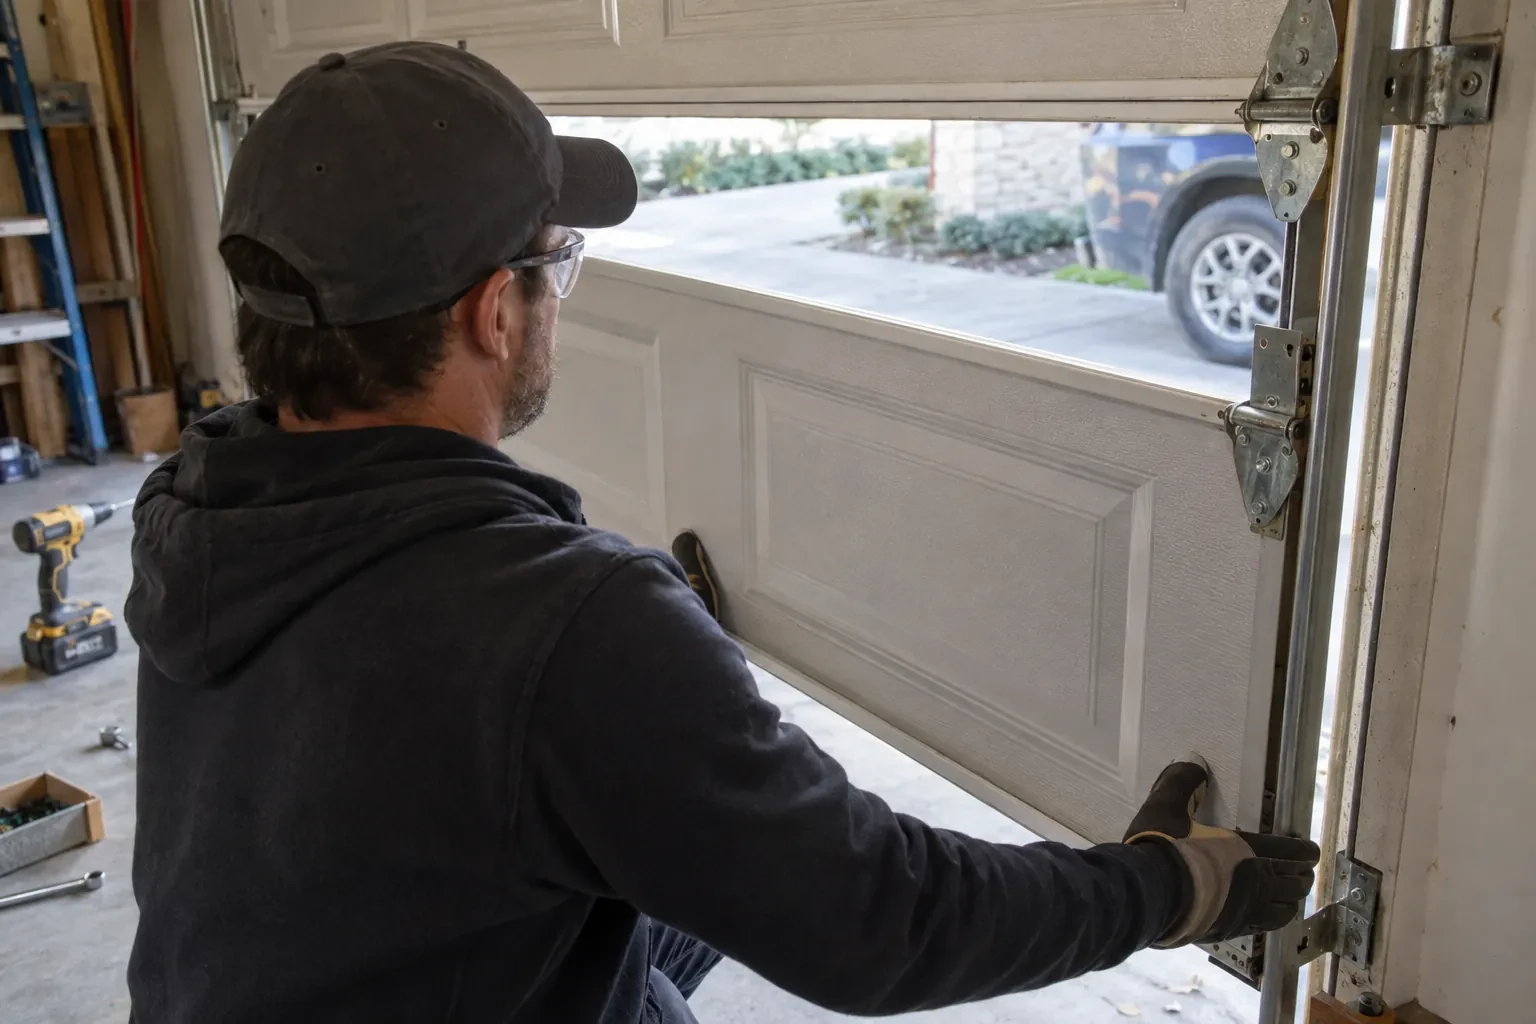
The old fin or stop comes off with a flat bar worked behind it a little at a time, so the trim and any brickmould stay intact. Nails are drawn with end-cutting pliers rather than hammered through, staples are lifted, and any old adhesive is scraped back to bare surface. Where the whole wood stop is being replaced with a one-piece vinyl stop, the stop is freed along its length and lifted out, and the paint ridge it leaves is knocked down so the new moulding sits flat. The bare jamb is brushed clean and any loose paint at the edges is removed before anything new goes on.
Corners that stay closed to pests
With the header and side fins overlapped, the small square holes that mice and wasps used are gone. Keep them that way by checking the four corners each autumn, when animals are looking for warmth, and pressing any lifted corner back into place. The point where the side seal meets the bottom seal on the door is worth a look too, since the bottom seal wears on its own schedule. A clear threshold, with leaves swept away from the door, removes the shelter pests use to work at a corner. Sealing the perimeter is one of the simpler parts of keeping a garage pest-free.
Garage Door Perimeter Weatherstrip
In the van
Tape measure, level and square
Flat bar, hammer and nail set
Galvanized or stainless trim nails
Exterior screws and weatherproof staples
Jamb repair lumber or PVC trim
Garage Door Perimeter Weatherstrip
What affects the quote
Partial replacement
Replacing one damaged length rather than all three is a smaller job, provided the remaining pieces are still soft and the profile can be matched.
Fin on the existing stop or a one-piece vinyl stop
Nailing a new fin to a sound wood stop uses less material than replacing the stop with a one-piece vinyl moulding, which costs more as a part but needs no paint and does not rot.
Alignment work on the door
Where the door sits out of square and a track bracket or the door itself needs small correction before the seal can meet it evenly, that adjustment is named separately.
What to have ready
- Is the seal cracked, torn, loose, or missing in places?
- Is the existing seal a flexible strip on a wood stop, or a one-piece vinyl moulding?
- Has the door recently been replaced or adjusted?
Garage Door Perimeter Weatherstrip: questions
QuestionsCan I paint the new seal to match my trim?
Paint the rigid parts only. A wood stop can be painted before the fin is fitted or with the fin masked, and a vinyl stop needs no paint at all. The flexible fin is left bare, because paint fills it and stiffens it, and a stiff fin cracks well before its time once cold weather sets in. Seals come in a range of colours so the fin can match the trim without a brush.
How should I look after the new seal?
Four times a year, check for daylight from inside with the lights off and press the fin to feel that it is still soft. Wipe the seal with a damp cloth to clear grit and salt, keep paint off the fin, apply a silicone wipe before winter, and keep slush and bins away from the bottom of the jambs. Press any lifted corner back and call if a length has come loose.
How long does the visit take?
A straightforward fin replacement on a single door is often a matter of an hour or two once the technician is set up; a double door with a one-piece stop takes longer, and any jamb repair adds to it. Most of the time goes into checking the door, preparing the surface and setting the contact carefully, since those are what make the seal last. You are given a sense of the timing when the work is confirmed.
Related services
- Garage Door Tune-UpThe door lands with a thud you can feel through the kitchen floor, and sometimes it bounces back up a few centimetres before settling.
- Off-Track Garage Door ResetThe morning after a thaw the opener groaned, the door stayed stuck to the icy floor for a second, then lurched up crooked.
- Garage Door Panel ReplacementAfter an overnight freeze the door stuck to the slab, the opener strained, and something gave.