Repairs · Ellesmere
Garage Door Perimeter Weatherstrip in Ellesmere
Dry leaves keep appearing in the same corner inside the garage, and this fall there were mouse droppings along the wall beside the door.
In plain words
Perimeter seal comes in two common forms, and the visit begins by deciding which suits your opening. The simpler is a flexible vinyl fin nailed to the face of the existing wood stop, which works well where the stop is sound. The other is a one-piece vinyl stop moulding with the fin built in, which replaces the wood stop altogether and suits jambs that are weathered or where the old stop is cracked and paint-heavy. Commercial doors sometimes carry an aluminum retainer with a replaceable rubber insert. Each is cut to your header and sides on site and set against the closed door.
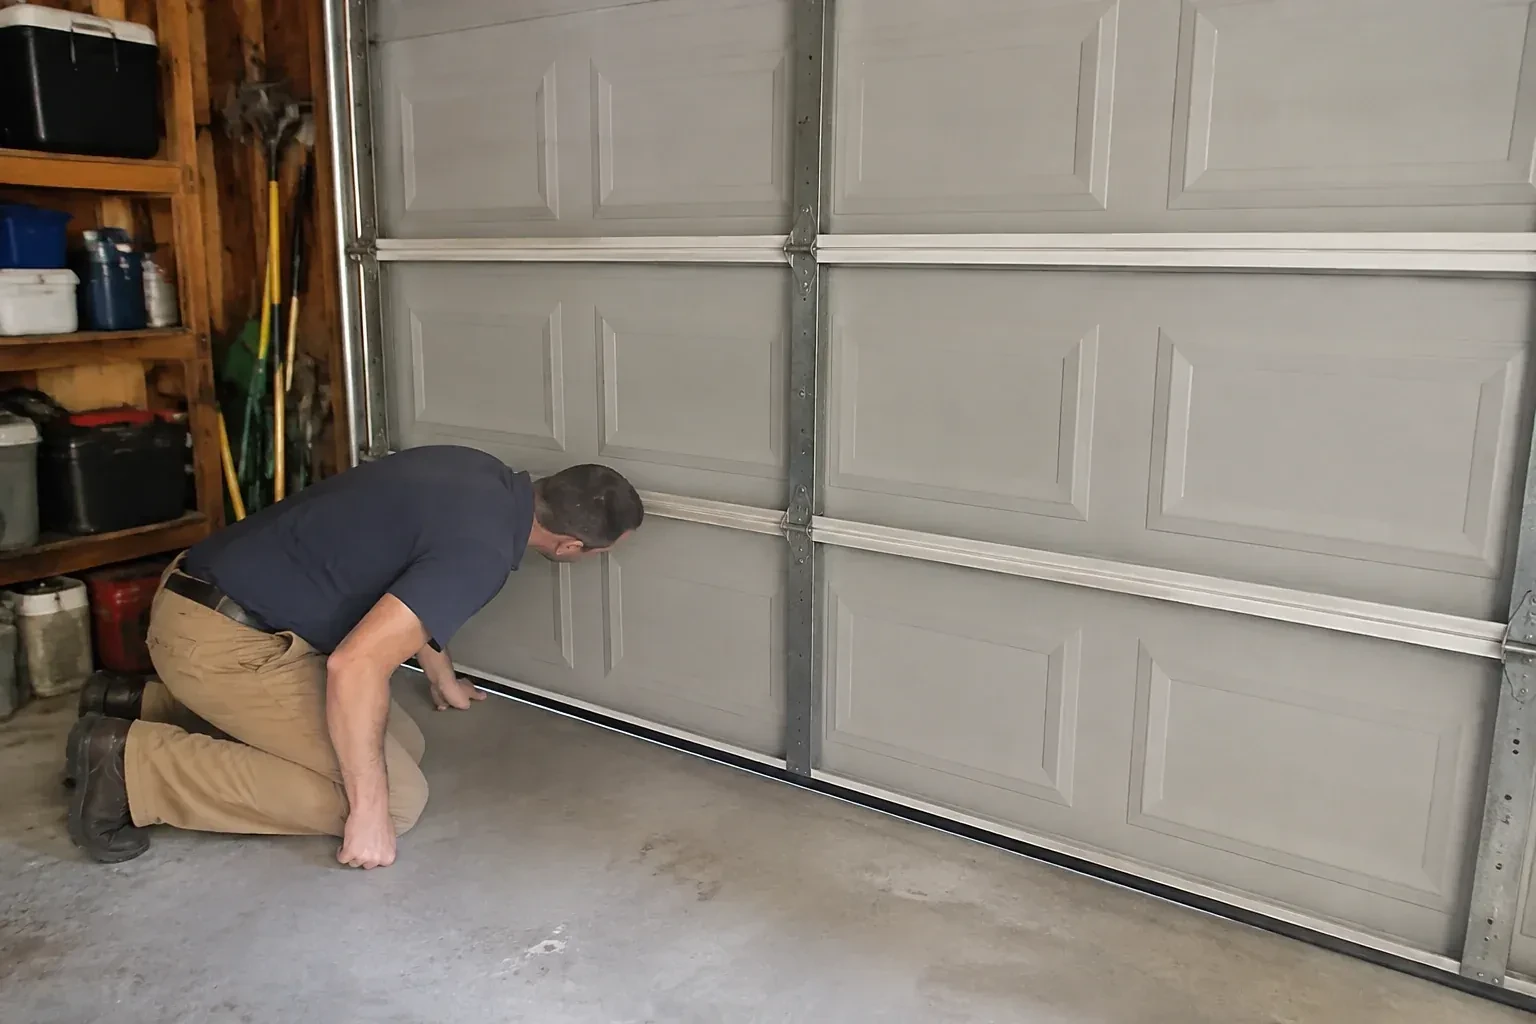
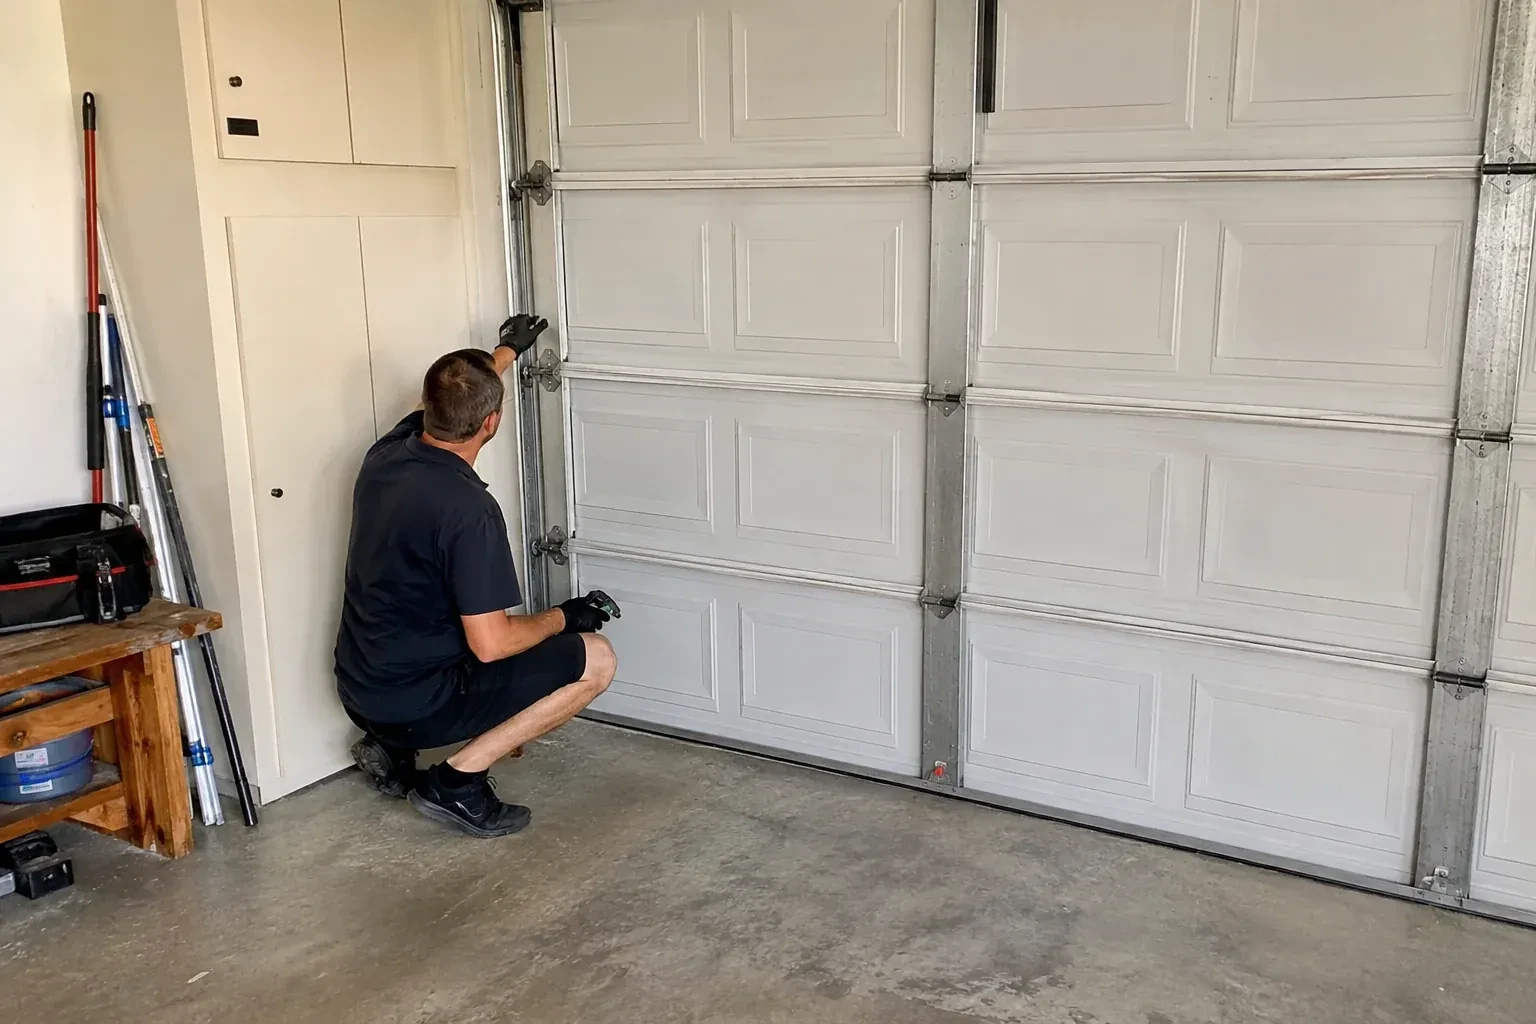
How the visit goesDry leaves keep appearing in the same corner inside the garage, and this fall there were mouse droppings along the wall beside the door. When you look, the corner where the top and side strips meet is wide open.
Garage Door Perimeter Weatherstrip
How the visit goes
What kind of seal is there now
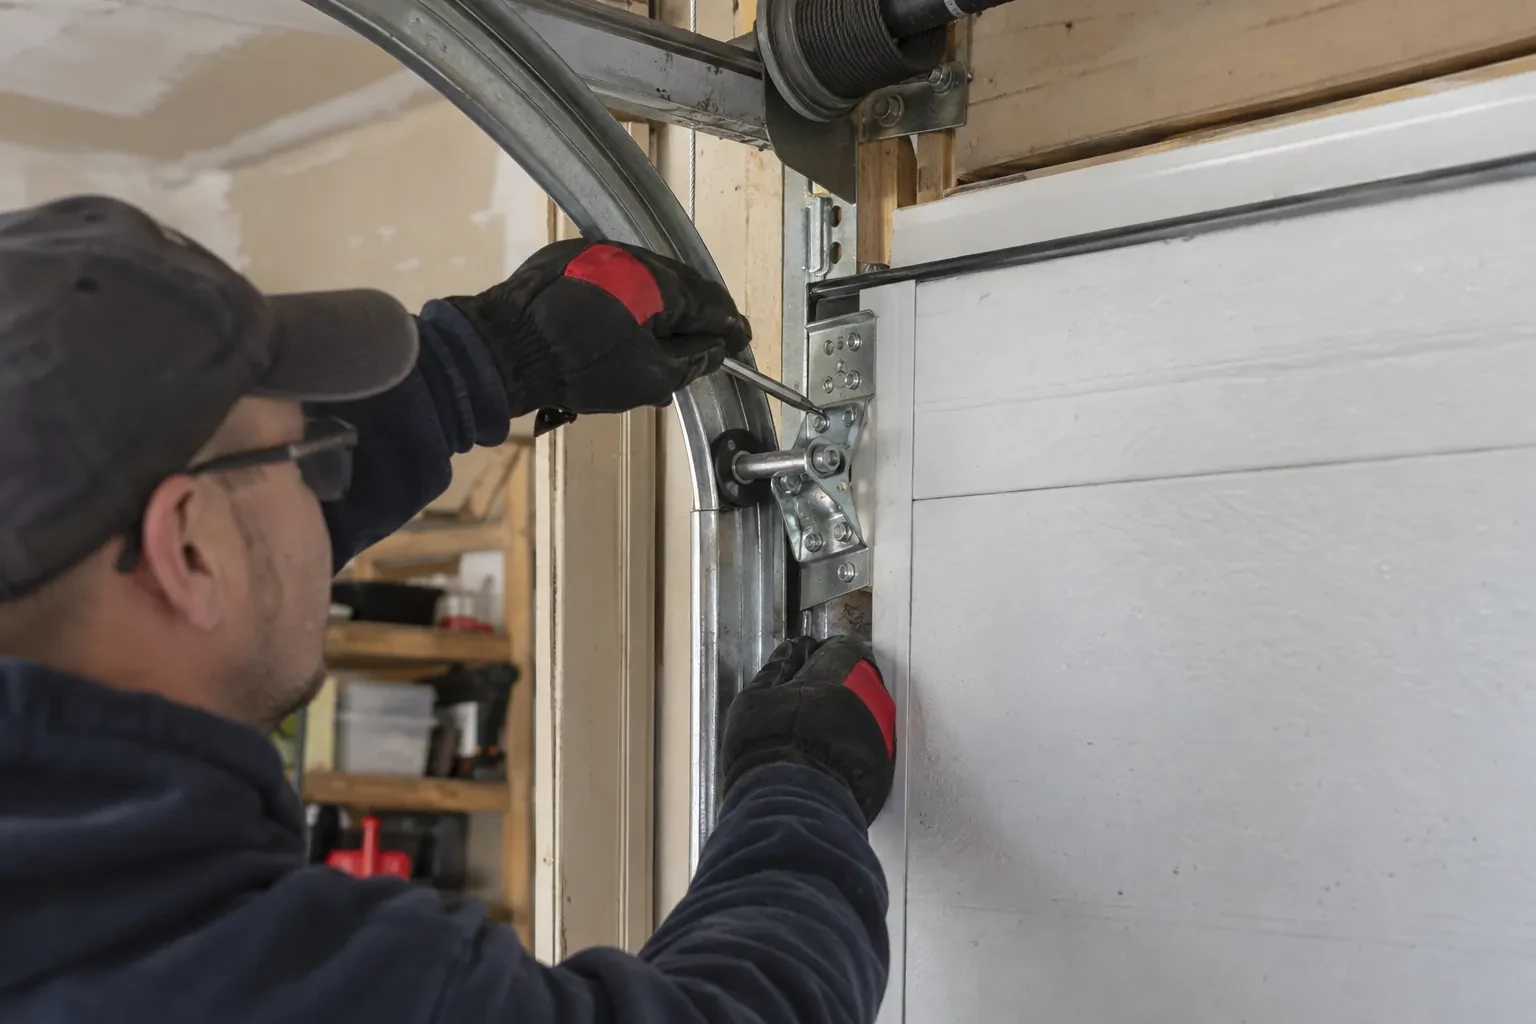
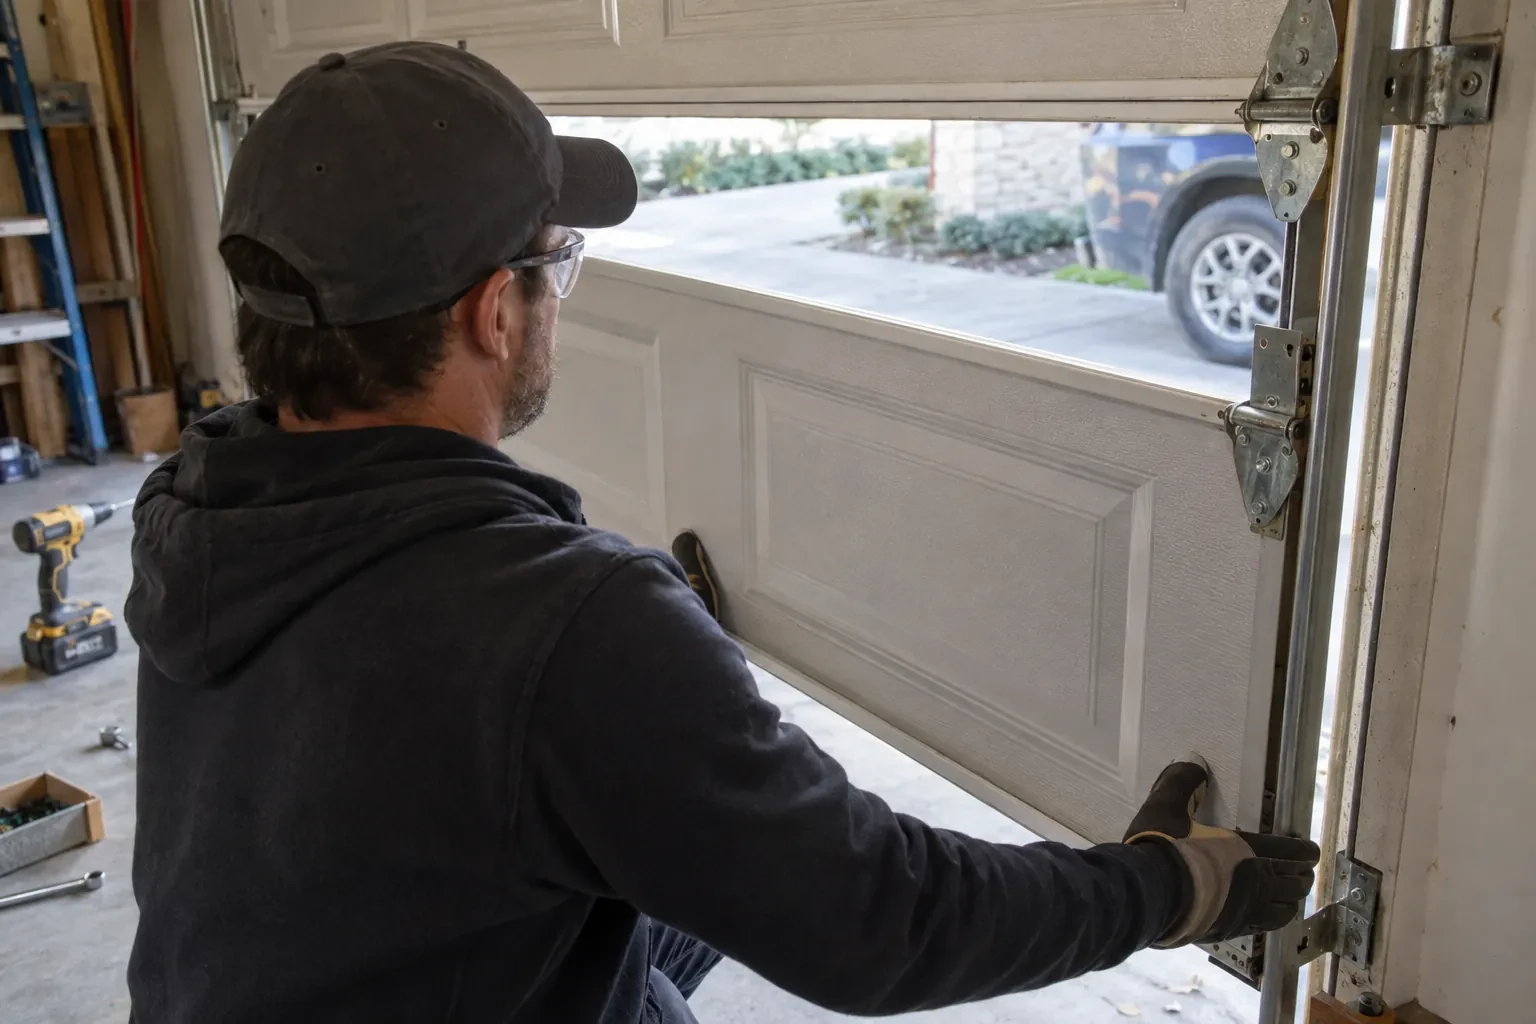
Openings carry different seals depending on their age and who last worked on them. Many older garages have a painted wood stop with a flexible vinyl fin nailed to its face. Newer installations often have a one-piece vinyl stop with the fin moulded in. Some commercial and premium doors use an aluminum retainer with a slide-in rubber insert, or a brush seal. The technician identifies which is present, whether the rigid part is sound enough to keep, and what the fastening was, because that decides whether a new fin goes onto the existing stop or the whole stop is replaced.
Cycling the door and sealing the joints
Once all three lengths are on, the door is run through several full cycles by hand and then with the opener, while the technician watches each fin for catching, folding or rubbing and listens for a squeal. The daylight test is repeated from inside with the lights off. Any joint between the new stop and the trim or brickmould where water could get behind is caulked with an exterior sealant, and the fin is wiped with a silicone spray to cut the odds of ice bonding it to the door. The old material is bagged and removed, and the household is walked round the finished opening.
Slush, salt and the bottom of the jambs
The lowest part of each jamb is where the weather does its work, so a little attention there protects the whole seal. Push slush away from the jambs when clearing the driveway rather than piling it against them, and rinse the salt off the bottom of the stop on a mild day. Keep the joint between the jamb and the sill caulked so meltwater runs off the face instead of behind it. If a section of jamb was replaced, keep its paint or PVC surface intact. A dry jamb base holds its fasteners, and fasteners that hold keep the seal tight.
Garage Door Perimeter Weatherstrip
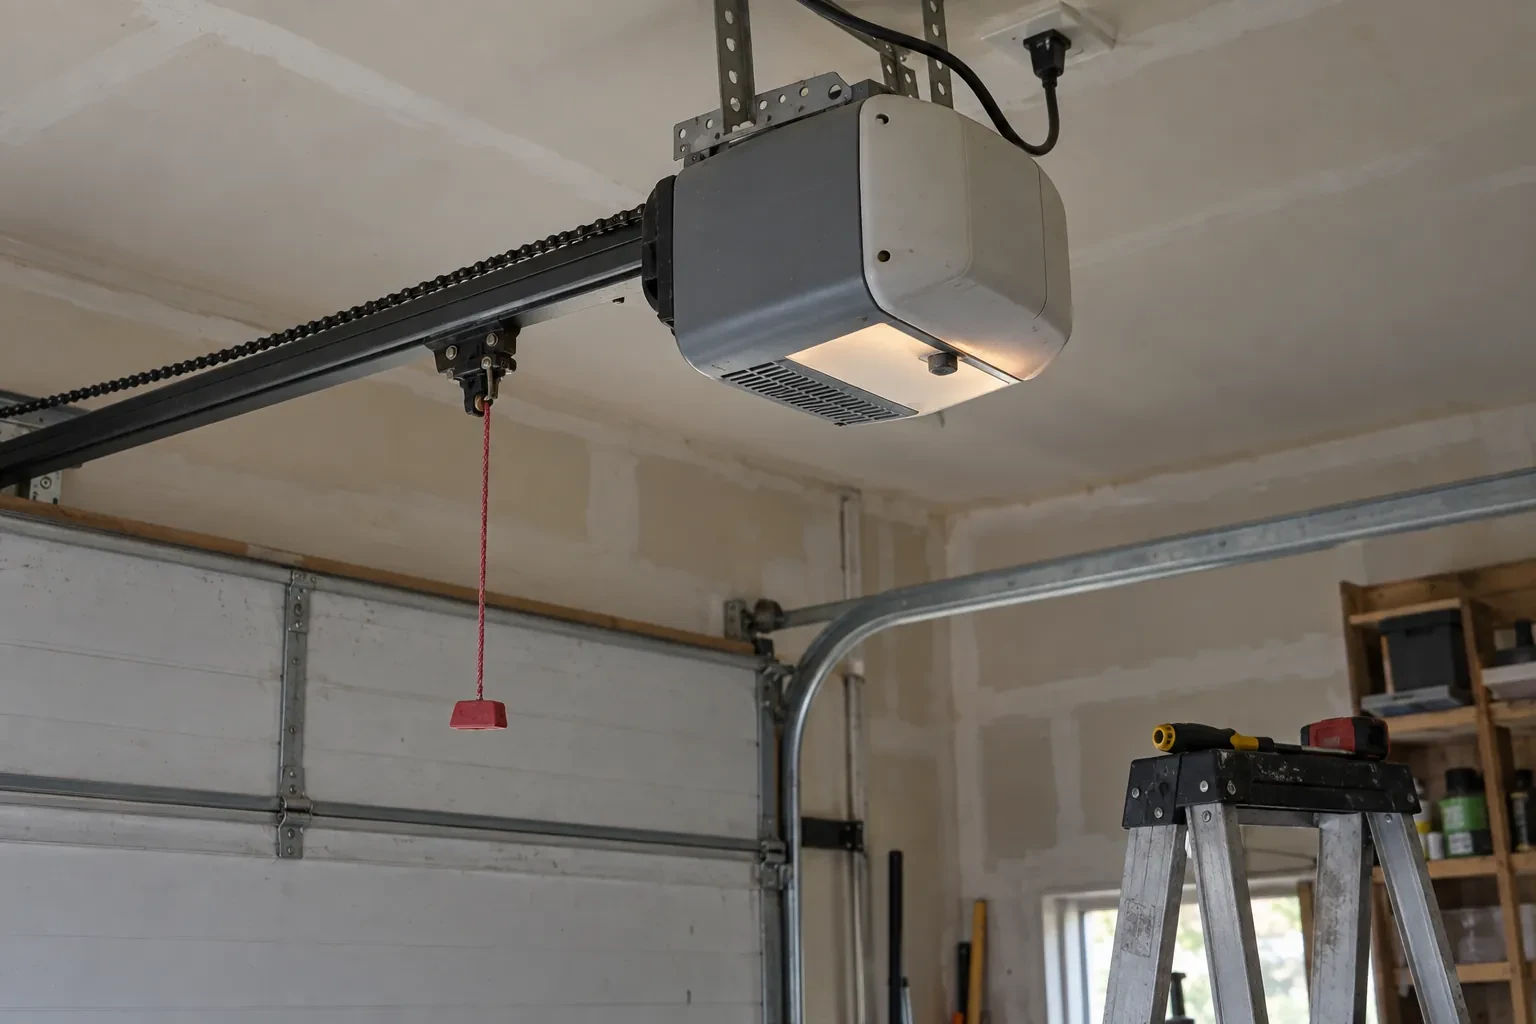
In the van
Tape measure, level and square
Flat bar, hammer and nail set
Galvanized or stainless trim nails
Exterior screws and weatherproof staples
Jamb repair lumber or PVC trim
Garage Door Perimeter Weatherstrip
What affects the quote
Weather on the day
Cold weather means keeping vinyl warm between the van and the opening and fitting each length with extra care, so a winter visit can run a little longer than one in mild weather.
Condition of the jambs
Soft or rotten wood at the base of a jamb is cut out and spliced with new lumber or PVC trim before the seal goes on, and that repair is quoted as its own item.
Trim, brickmould and caulking
Re-caulking the joint between stop and trim, or dressing capping that channels water down the jamb, is small work done while the surface is bare and is listed on its own line.
What to have ready
- Is anything stored against the jambs, or a car parked close to the opening?
- Where do you see daylight, drafts or snow: sides, top, or corners?
- What colour is the trim around the door?
Garage Door Perimeter Weatherstrip: questions
QuestionsCan I paint the new seal to match my trim?
Paint the rigid parts only. A wood stop can be painted before the fin is fitted or with the fin masked, and a vinyl stop needs no paint at all. The flexible fin is left bare, because paint fills it and stiffens it, and a stiff fin cracks well before its time once cold weather sets in. Seals come in a range of colours so the fin can match the trim without a brush.
How should I look after the new seal?
Four times a year, check for daylight from inside with the lights off and press the fin to feel that it is still soft. Wipe the seal with a damp cloth to clear grit and salt, keep paint off the fin, apply a silicone wipe before winter, and keep slush and bins away from the bottom of the jambs. Press any lifted corner back and call if a length has come loose.
How long does the visit take?
A straightforward fin replacement on a single door is often a matter of an hour or two once the technician is set up; a double door with a one-piece stop takes longer, and any jamb repair adds to it. Most of the time goes into checking the door, preparing the surface and setting the contact carefully, since those are what make the seal last. You are given a sense of the timing when the work is confirmed.
Related services
- Garage Door Tune-UpThe door lands with a thud you can feel through the kitchen floor, and sometimes it bounces back up a few centimetres before settling.
- Off-Track Garage Door ResetThe morning after a thaw the opener groaned, the door stayed stuck to the icy floor for a second, then lurched up crooked.
- Garage Door Panel ReplacementAfter an overnight freeze the door stuck to the slab, the opener strained, and something gave.