Openers · Wexford Heights
Photo-Eye Sensor Alignment or Replacement in Wexford Heights
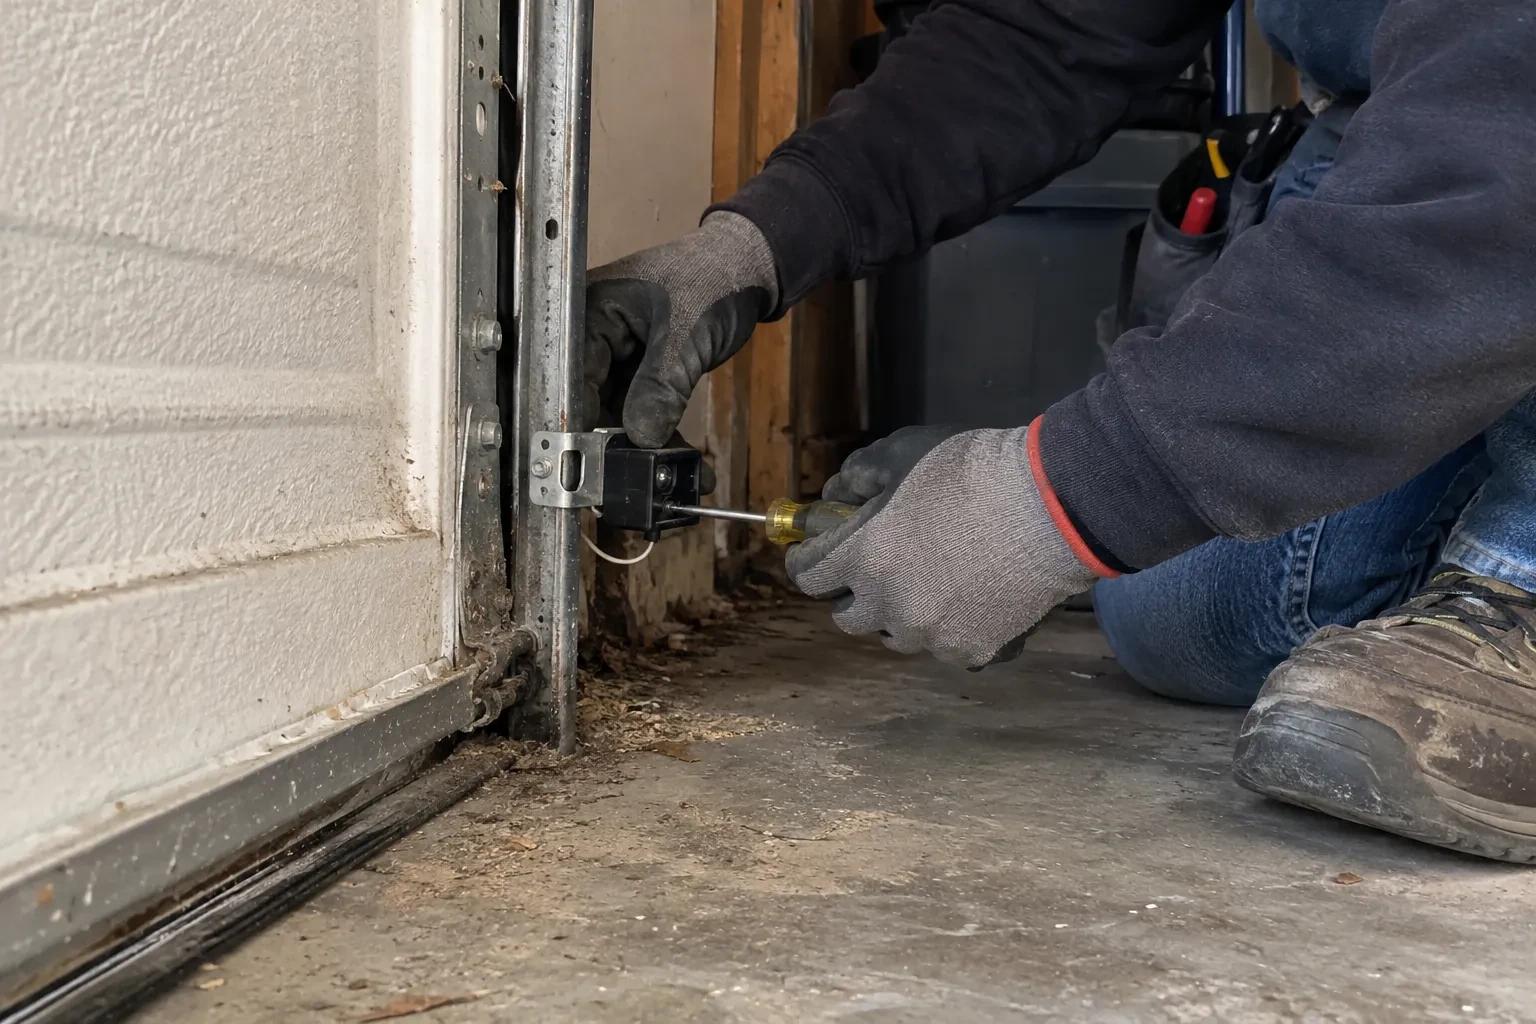
The small light on one of the sensors near the floor has gone dark, or it flickers when someone walks past the track.
In plain words
Two small sensors face each other across the doorway: one sends an infrared beam, the other receives it. While the beam lands on the receiver, the opener will close the door; the moment anything interrupts it, the door stops and returns to open. Every sensor call comes down to why the receiver has lost the beam: an object, a bent bracket, a dirty or frosted lens, sun in the receiving eye, a broken wire or a tired sensor. The technician works through those in order, fixes the one that applies, and shows you the steady indicator lights that mean the pair is talking again.
How the visit goesThere are no sensors at the floor at all, or a previous owner has wired the pair together up beside the motor so the beam never crosses the doorway. A home inspector has just pointed it out.
Photo-Eye Sensor Alignment or Replacement
How the visit goes
Ruling out sun, frost and reflections
A sensor that misbehaves on a timetable is usually being blinded rather than broken. The technician notes which way the door faces, where the low sun reaches the floor in the morning and late afternoon, and whether a receiving lens looks into that light or into a reflection off a parked car, a white wall or fresh snow. Lenses are checked for frost, condensation and a film of salt, common in an unheated garage. A hand cupped over the receiving eye while the light is watched is a simple test: if the indicator settles when the eye is shaded, the fix is a side swap or a small hood rather than new parts.
Dealing with the sun
A receiver that looks into the low sun is fixed by geometry. The simplest cure is to swap the two sensors side to side so the receiver looks away from the doorway light and the sending eye, which is not affected, takes the sunny position. Where the layout rules that out, a small hood or shade is fitted over the receiving lens, deep enough to shield it without narrowing the beam path. The wiring is extended or re-routed as needed and both lights are checked at the time of day the fault used to appear, or with a strong light aimed at the lens to stand in for the sun.
Keeping the brackets out of harm's way
Most repeat sensor calls come from the same few habits, and they are easy to change. Keep recycling bins, bicycles, boots and the snow shovel away from the bottom of the door track on both sides. Park with a little room to spare so a bumper never meets a bracket. When you sweep or blow snow out of the garage, aim away from the sensors rather than at them. If shelving or a workbench goes in along that wall, leave the strip near the floor free. The brackets are sturdy, but they hold a precise line, and a nudge that would not bother anything else is enough to lose the beam.
Photo-Eye Sensor Alignment or Replacement
In the van
Two-conductor low-voltage wire
Wing nuts and carriage bolts
Wall or floor angle brackets
Insulated wire staples
Matched photo-eye sensor pair
Photo-Eye Sensor Alignment or Replacement
What affects the quote
Opener make and generation
Sensor pairs are matched to the opener family, and some models take a kit with brackets and wire while others take sensors alone. The head unit label sets which pair is needed and how it is priced.
Sun and reflection remedies
Swapping the sensors side to side is a small addition when the wiring reaches. Fitting a shade, or extending the wire so the receiver can move, is a little more and is listed on its own.
Wall or floor mounting with anchors
Mounting into concrete or masonry rather than onto the track means drilling, anchors and sealing against water, which takes more time than clipping to the rail.
What to have ready
- Can you see the thin sensor wire, and does any of it look pinched, cut or chewed?
- Are there sensors at the floor on both sides, or are they missing or mounted up beside the motor?
- Does the opener light flash when you press close, and how many times?
Photo-Eye Sensor Alignment or Replacement: questions
QuestionsWhat tests are done before the technician leaves?
Two, and you are invited to watch. With the door closing, an object is passed through the beam and the door has to halt and climb back to the top. A 2x4 laid flat beneath the door's centre comes next; closing onto it must make the door back off on contact. The door is also run from the wall control and a remote, the opener's warning flashes are confirmed gone, and both sensor lights are shown steady.
How do I test the sensors each month?
Start the door closing and, while it is moving, swing a broom handle through the beam low across the opening; the door should halt and travel back up. Next, put a 2x4 flat beneath the door's centre and run the door onto it; it should back off as soon as it touches. If either test fails, close the door first if you can, use it by hand with the manual release, and book a visit; do not release it if it feels heavy.
The opener light blinks when I press close. Is that the sensors?
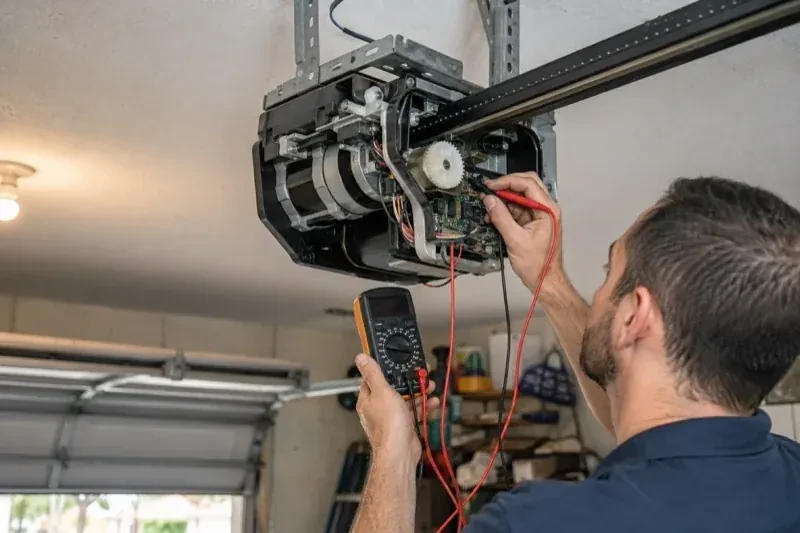
Very often, yes. A blinking bulb after a close command is the opener reporting that its sensor circuit is unhappy, and the count of blinks is the message: one common family uses ten flashes for the sensors, while a short two-flash pattern usually means the wall control's lock button is on. Newer units add arrow codes that separate a blocked beam from a cut or reversed wire. Counting the flashes and telling the technician the make helps identify the cause before the visit.
Related services
- Chain-Drive Opener RepairThe chain in the detached garage went orange with rust over the winter, the links are stiff, and the opener strains and groans to pull the door up.
- Belt-Drive Opener RepairThe door used to glide up with a soft hum.
- Garage Door Opener ReplacementYou swapped the old wooden door for a heavier insulated steel one, and the twenty-year-old opener that was kept has never settled.